Average Grades

Prepare your tube: cut a 2x5 cm piece of paper. Roll it up and add a piece of tape to secure it.

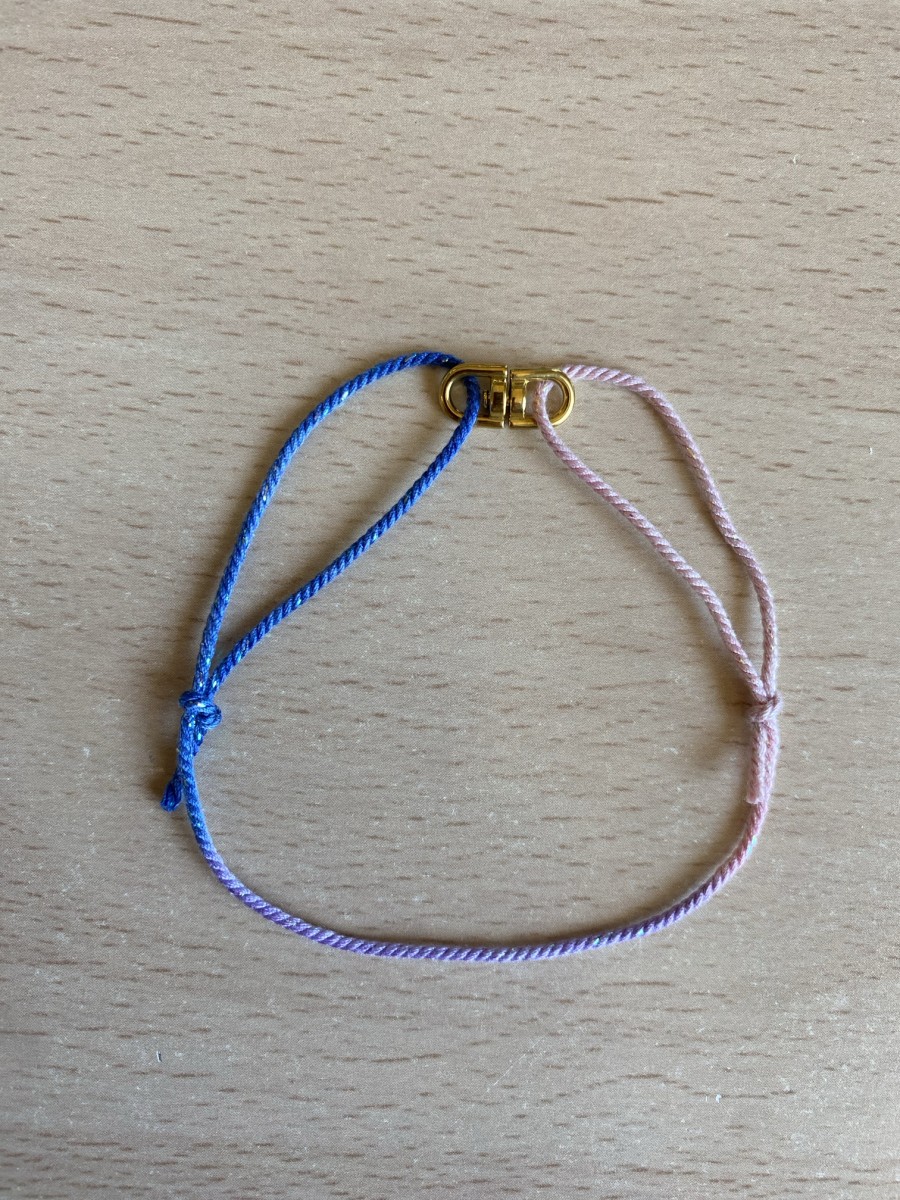
These duo bracelets in cord and navy mesh are modern, symbolic and easy to wear. Made with a stainless steel spacer, they come in a range of colors for unique personalization. This DIY project, accessible to beginners, is perfect for creating a handmade piece of jewelry, ideal for giving on special occasions like Valentine's Day.
Fall in love with this duo of cord and marine mesh bracelets, a symbolic, modern creation that' s easy to wear every day. Designed as two complementary bracelets, these models play on the combination of textile cord and stainless steel marine mesh, for a sober, mixed and timeless look. They go equally well with a casual outfit or a dressier style, and make an excellent jewelry idea for a gift or for two!
This jewelry assembly is accessible to beginners in jewelry design. The main technique used is the capuchin knot, an essential base for cord jewelry. Strong and aesthetically pleasing, this knot holds the spacer securely in place, while providing a neat, clean finish. The tutorial guides you step by step to master this knot and make durable, comfortable, adjustable bracelets, but we've also produced a video datasheet to learn how to tie a capuchin knot.
One of the great advantages of this model is its customizability. You can easily replace the central spacer with another model from our catalog: a symbol, geometric shape, letter or more minimalist pattern. You can also change the color of the cord to adapt your bracelets to your desires, a particular meaning or the wearer's taste. This makes every duo unique.
Thanks to a simple, modular design, these bracelets can be adjusted to different wrist sizes. This DIY project is the ideal way to get started with cord jewelry, deepen your technical knowledge and create a meaningful piece of handmade jewelry. A perfect tutorial for combining creativity, personalization and the pleasure of handmade! An ideal gift for Valentine's Day or a birthday :)
Prepare your tube: cut a 2x5 cm piece of paper. Roll it up and add a piece of tape to secure it.

Cut 40 cm of cord for the women's bracelet and 50 cm for the men's bracelet.

We use the capuchin knot technique. For detailed video explanations, go to this data sheet: Tying a capuchin knot.
Slide your spacer into the cord. Form your bracelet into a round shape. Tie a first capuchin knot on one side using your tube. Place the tube over the thread on which the knot will slide.

Wrap the thread 3 times around the tube in the direction of your finger.

Pass the wire end through the tube in the opposite direction to winding. Remove the tube and tighten the knot.

Cut the end of the cord 1 mm from the knot.

Add a dot of glue to the cut end. Leave the glue to dry for a while.

Do the same on the other side to form your 2 sliding capuchin knots. Now you've finished your first bracelet, all you need to do is repeat the steps for the second.


You have a question about this tutorial? Ask it to our team and the people who have already tested it. The Perles & Co community is here to help you!
Credits
Perles & Co, Internet & E-Commerce company [30/01/2026] Any reproduction, representation, adaptation, in any form whatsoever, even partial, is prohibited, except for reproduction for private use not intended for collective use, representation in the family circle (art. L 122-5 CPI) and online publishing on condition that the source is mentioned and a link is included to the corresponding page of our site www.perlesandco.com.