Average Grades
Free shipping on orders over 50€ up to 500g
French Online shop for beads and accessories for the creation of DIY jewellery and other creative hobbiesLog-in
0
Shopping cart
Shopping cart

How to make a soutache ring
If you love elegant jewelry, check out this step-by-step tutorial on how to make a ring with soutache. With a little patience and practice, soutache will hold no secrets for you!
Do you know what soutache is ? It's a narrow, flat, braided and textured braid traditionally found in the haberdashery and trimmings department. Originally used to embellish garments or lampshades, soutache is now enjoying a renaissance with the trend towards textile jewelry and Bead Embroidery. In this step-by-step guide, we suggest you use French soutache, which is pleasant to work with thanks to its good hold. It's ideal for making embroidered jewelry.
Many thanks to Martha Mollichella for creating this step-by-step tutorial, and check out our other jewelry tutorials using soutache.
Please note: This tutorial is currently available in English and Italian. The French version will be available soon, but thanks to the many photos in the tutorial, it's easy to follow the steps written in English.
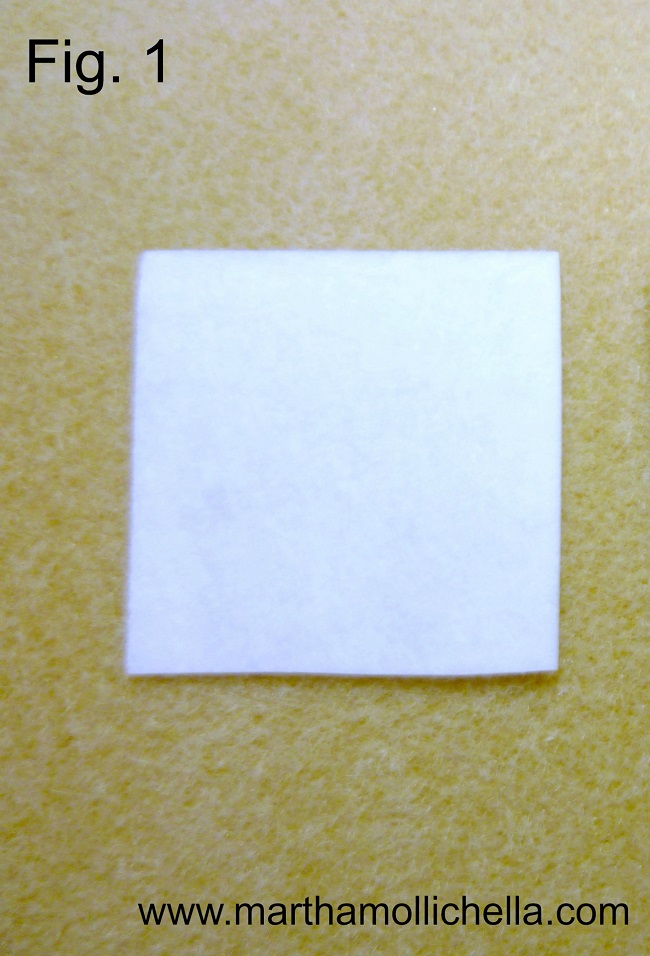
1) Cut two squares of stiff stuff ( 3,5 cm to each side);
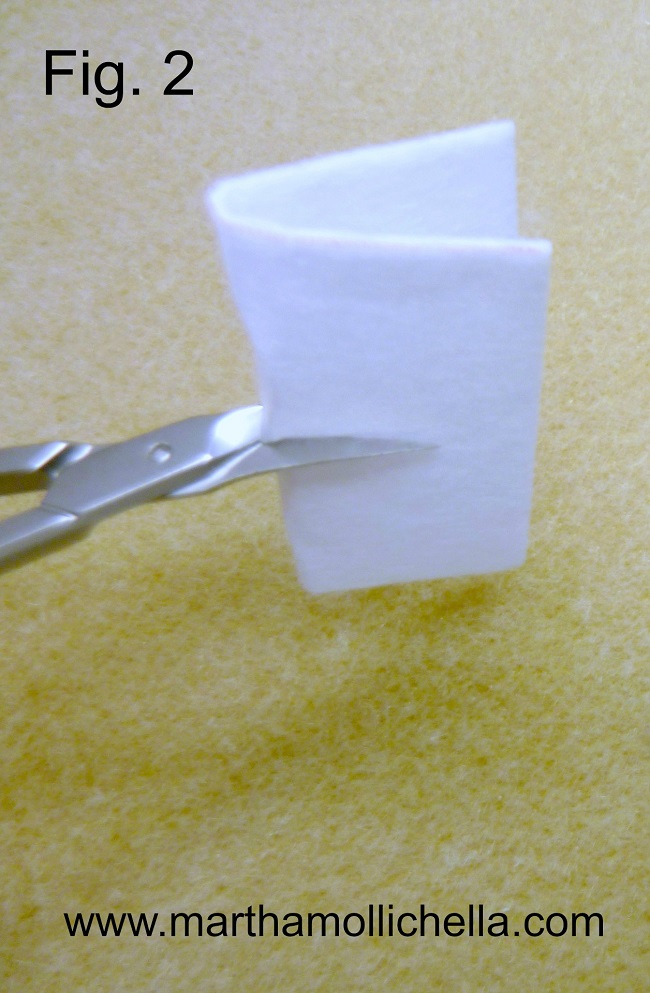
2) Make a cross cut in the middle;
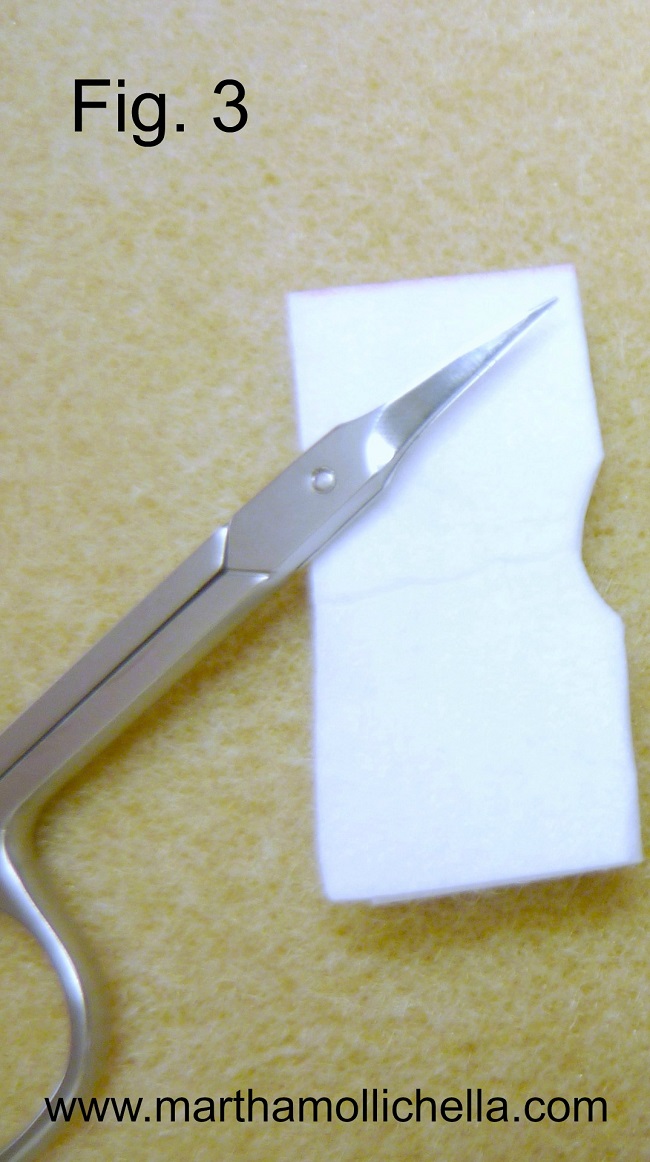
3) Make a semicircular cut starting from the middle, this is the base where we will start to work. It is very important to achieve a "slot" in an oval shape; so that the cabochon will not be too tight or too wide; as it has a certain depth;
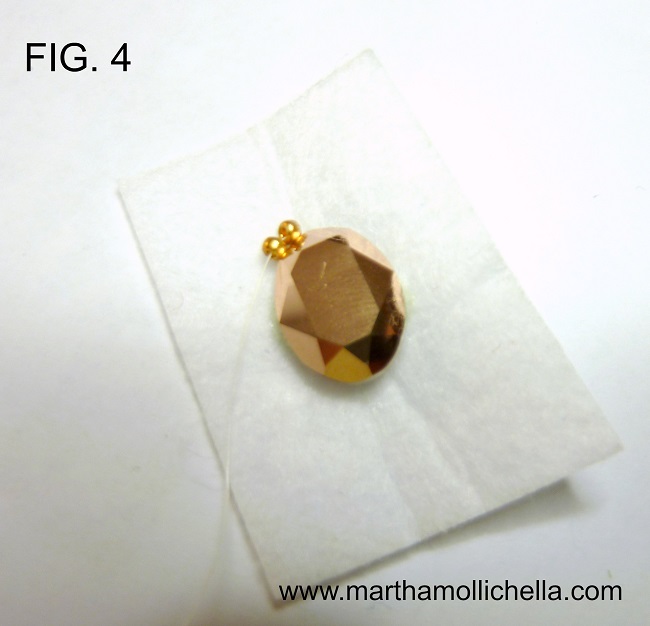
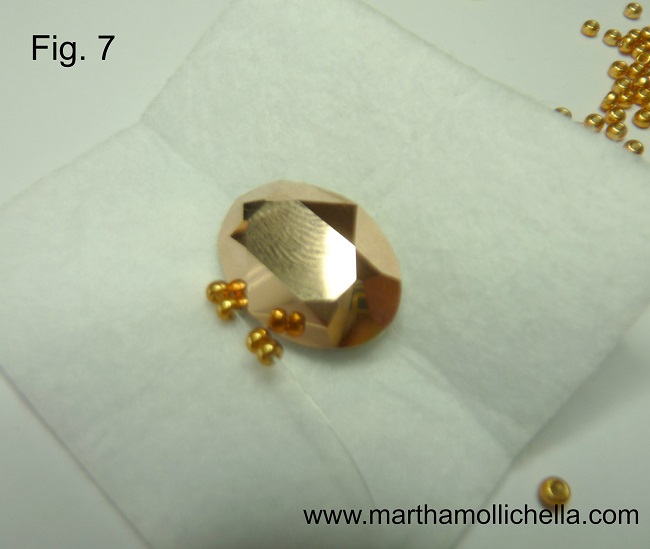
4) Stick the cabochon onto the stiff staff, taking great care not to dirty the cabochon with glue. I suggest you do this in the evening and let the glue dry all night long; We begin to embed our cabochon: take one meter of Miyuki thread, tie a knot, get below and above the stiff staff and exit adjacent to the cabochon. Take two Seed beads 11/0, gently place them at the edge of the cabochon and fall under the stiff staff, immediately after the second bead inserted;
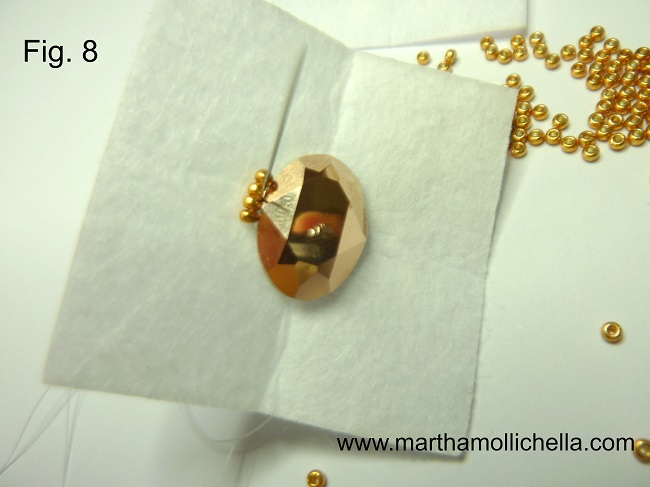
5) At this point exit with needle, at the center between the first and the second bead inserted;

6) Get out from the second bead inserted;

7) Insert two more Seed beads 11/0 and go back from top to bottom to stiff staff immediately after the fourth bead inserted, always making sure to stay to the side at the edge of the cabochon;
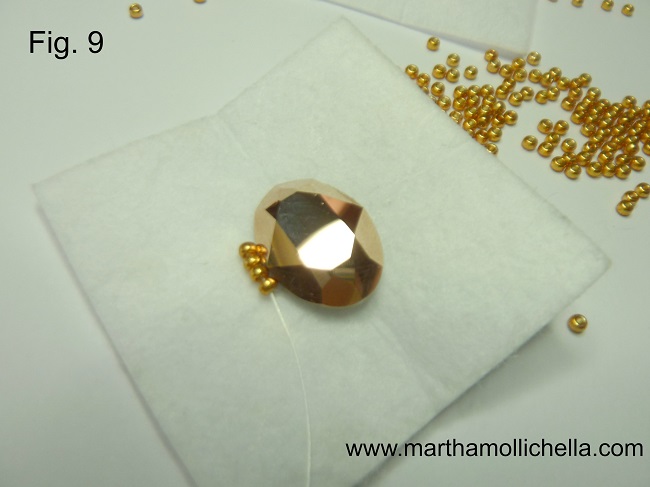
8) Re-enter from below to above the center of the four beads. This point is called "back stich two" and is used to embed cabochon small as these PureCrystal Oval;
9) Insert the needle and thread in the third and fourth bead;
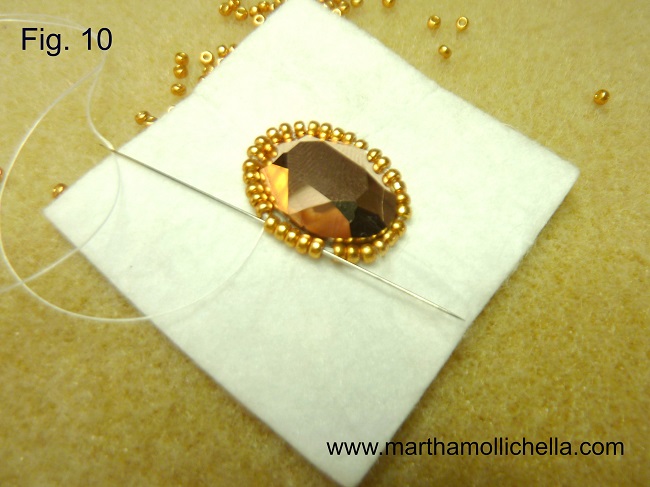
10) Continue with the "back stitch two" for the entire perimeter of the cabochon. Check for safety that at the end, the number of beads added is always even. Obviously inserting always two beads this should be obvious, but it is always best to double check. Beads must be even to continue embedding the cabochon with "circular peyote tecnique."
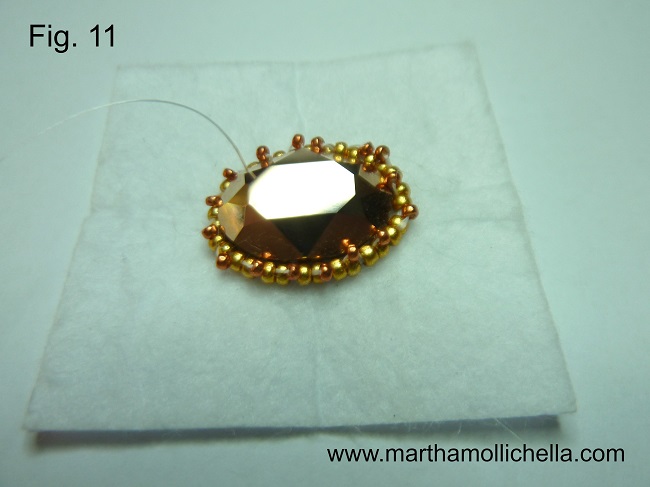
11) Now we will add 15/0 beads using circular peyote tecnique, exiting (and starting) from an 11/0 bead previously entered, (this is called step up). Take one 15/0 on the needle, and insert the needle in the next 11/0. Continue in this manner all the way round and then make the step up; After the step up, make a second round with 15/0;
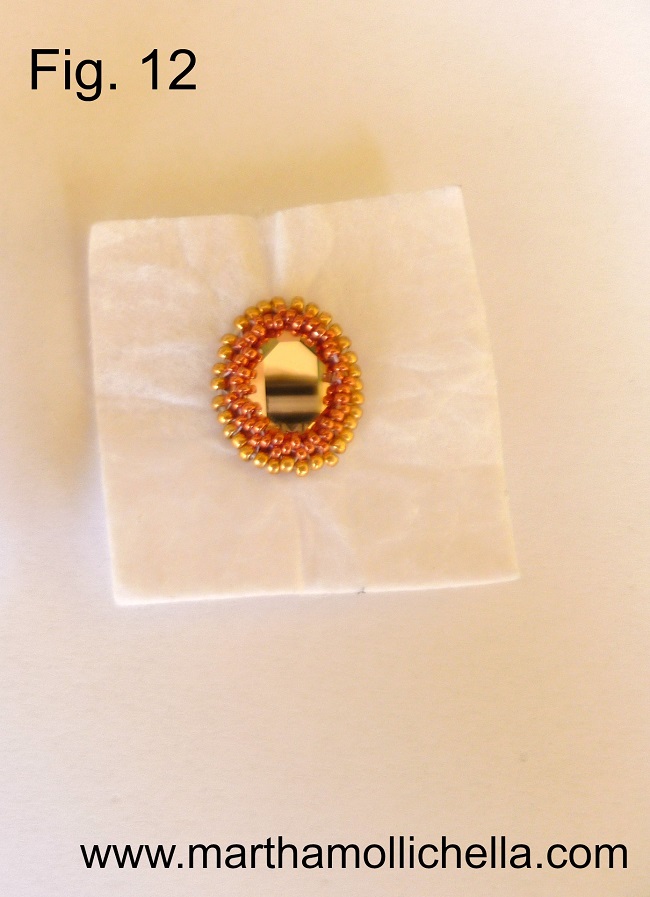
12) Make third round and this is the embedded cabochon result;
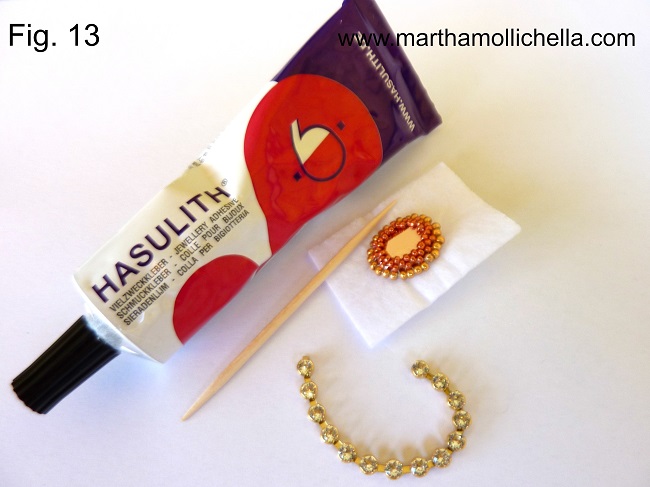
13) Take one piece of PureCrystal rhinestone chain and measure the length needed to the outline of the embedded cabochon. The more the bezels will be closer together, the more beautiful will be the work.
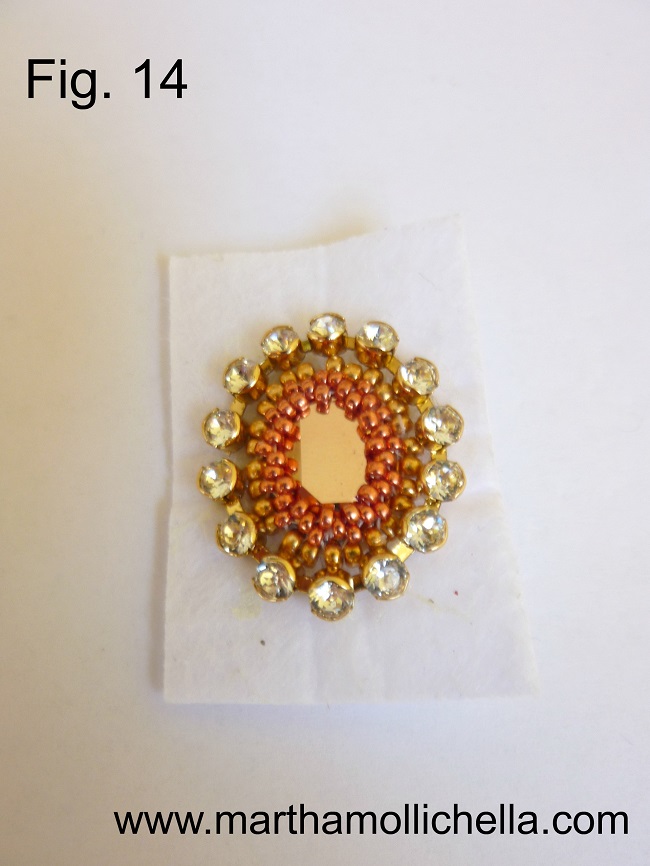
14) Put little bit of glue on a toothpick and spread it on the stiff staff around the embedded cabochon; lay down the chain and let it dry and just sew each two bridges, as in the picture.
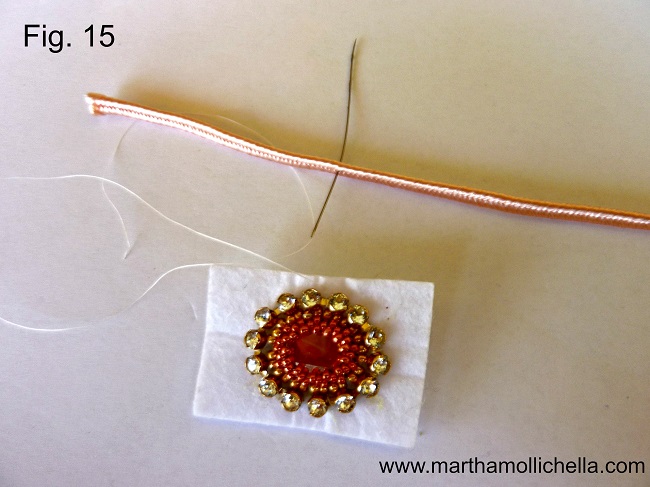
15) So far we have worked with Miyuki thread. It is time to replace it with the Fireline. You can also continue using Miyuki thread in the same soutache color but I prefer Fireline because it is transparent. Take a meter of fireline, tie a knot, get into the stiff staff adhering to the perimeter of the cabochon. Take 12 cm of pink soutache and go right at the center of the groove of the soutaches strip;
16 and 17) Re-enter with a small point inside (toward the cabochon);
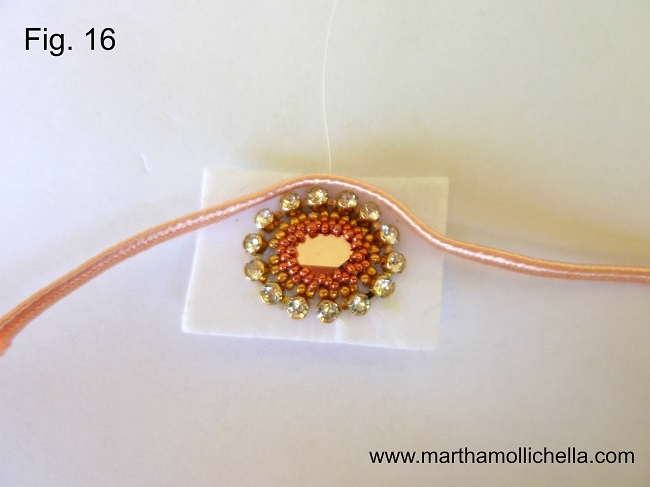

18) Indent vertically now in stiff staff, adjacent to the cabochon and go back over more and adjacent to the cabochon;

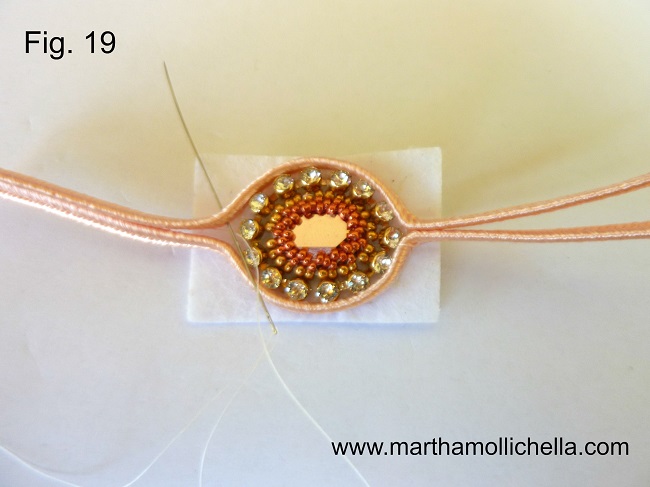
19) After repeating the point 16 and 17 making small points, you will have surrounded Half cabochon and repeating the same point taking 12 cm pink soutache, make the same for the other side of the cabochon as shown;
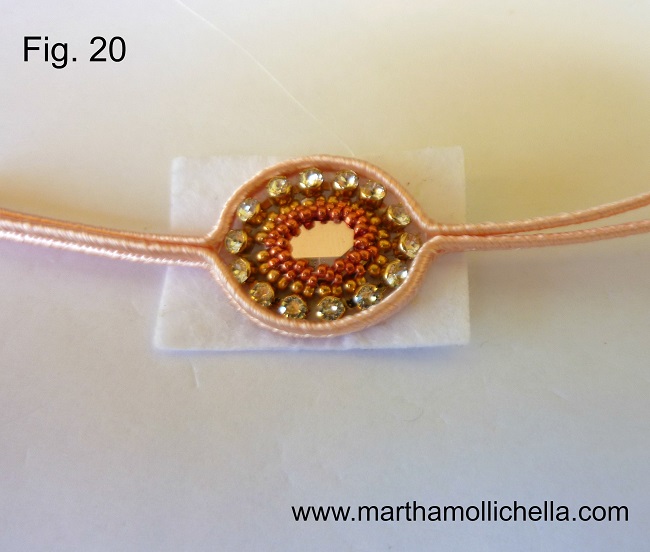
20) Join the two ends of soutache stripes, sewing each others as shown in figure. Do not cut the thread.
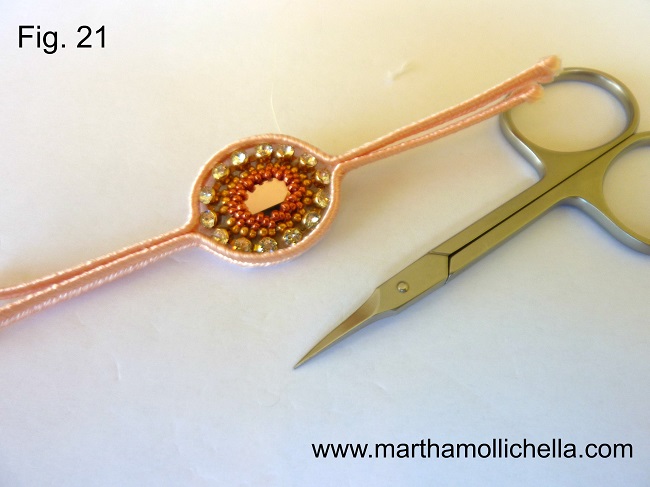
21) Cut stiff staff in excess;
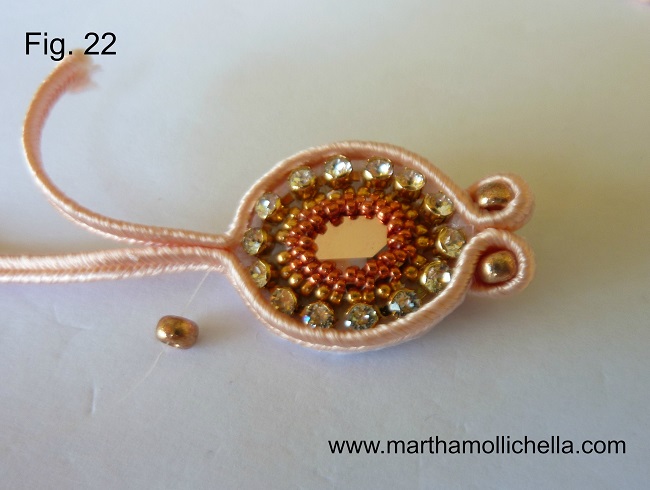
22) Add 6/0 beads as shown in the image; Sew the stripe on the back; Cut stripes in excess and if too frayed, stop them with a drop of glue;
24) Sew 15/0 Seed Beads bicone and 15/0 as shown

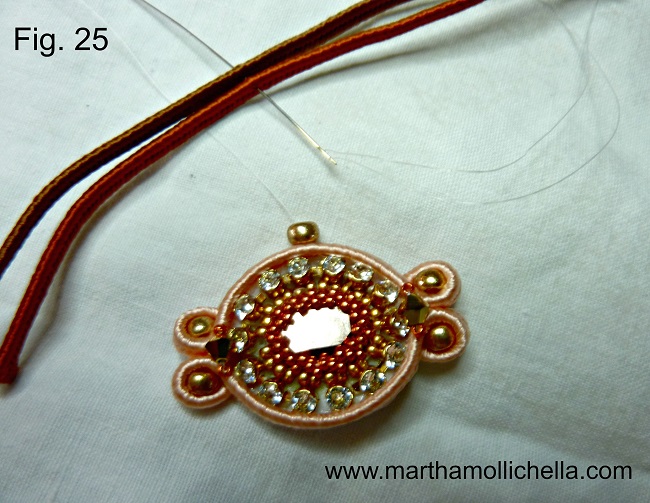
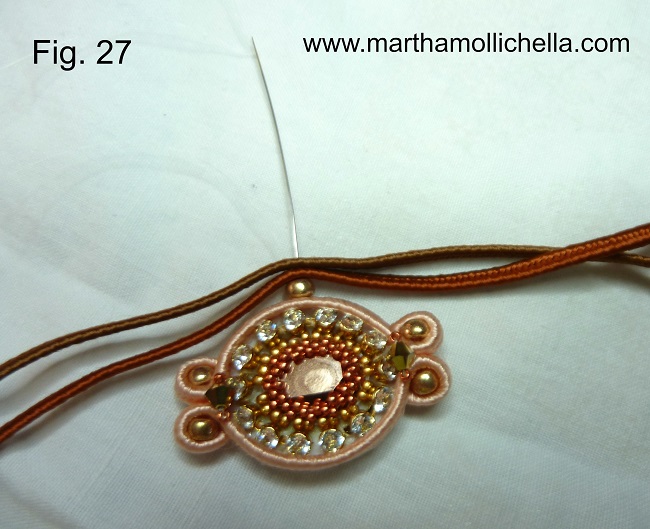
25) Now needle one 6/0 and take 9 cm of the others two soutache colour (I used the light pink peach, brown and terracotta) and align along the same direction. As you can see, the soutache stripes are composed of woven fibers and in their length form a V. We must follow this V verse. Needle right at the center of the groove of the soutaches strip;
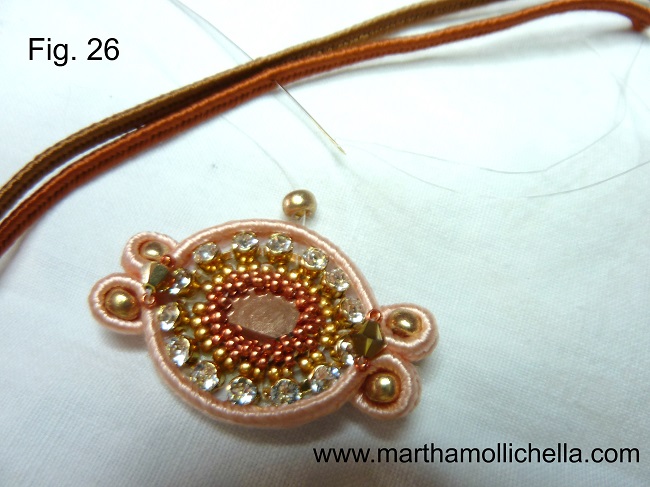
26) Re-enter with a small point inside.
27) continue with small point;
28) go back with the needle;

29) Sew a 8/0 bead between the two soutache stripes;

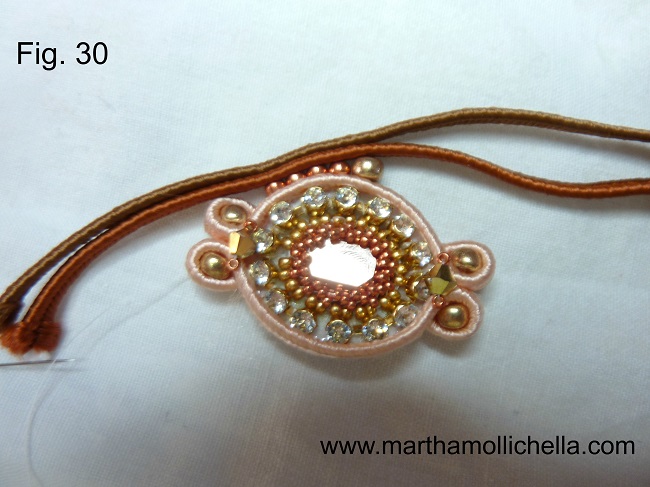
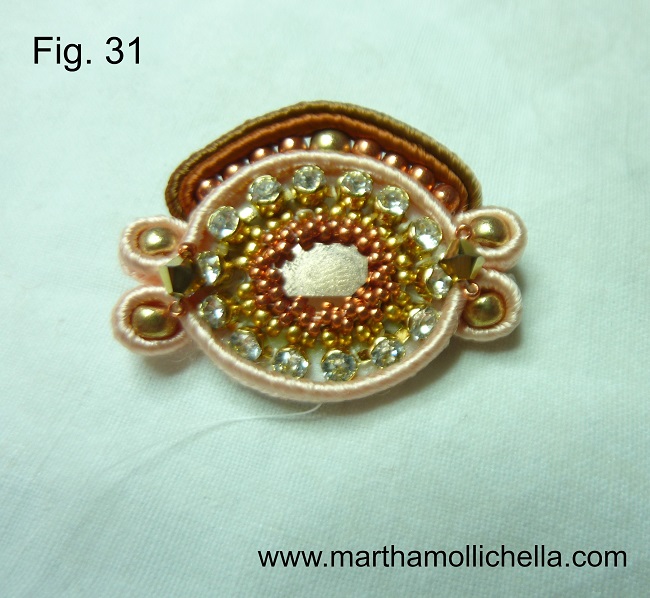
30) and 31) continue sewing 4 8/0 on the left of the 6/0 and on the right.
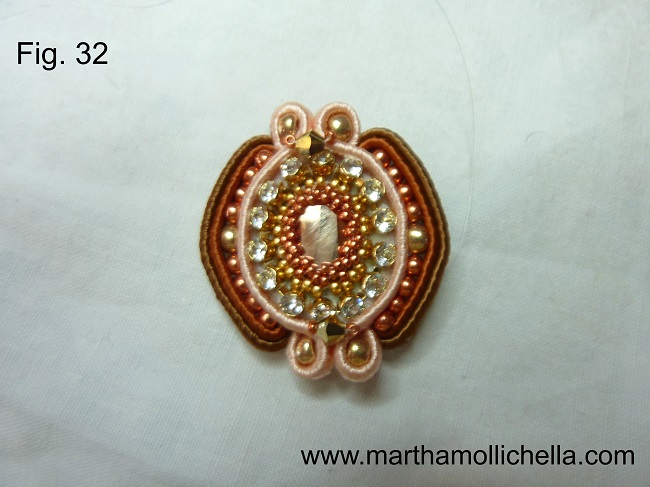
32) Make the same thing on the opposite side;
33) Take a piece of ultrasuede.

34) make a cross cut in the middle

35) Insert the ring base inside the cross cut;

36) this is the front view

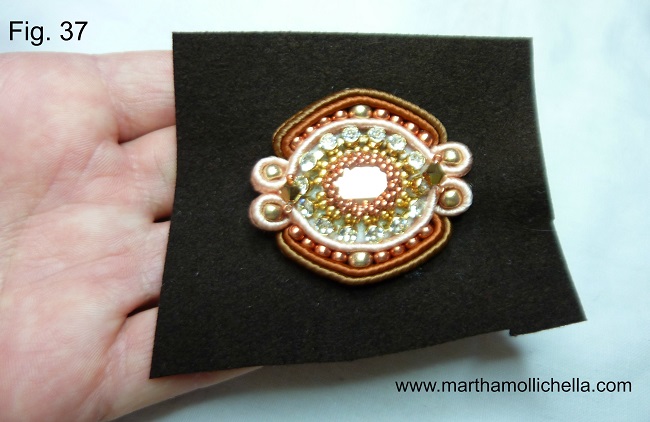
37) glue the module on the base ring and ultrasuede.
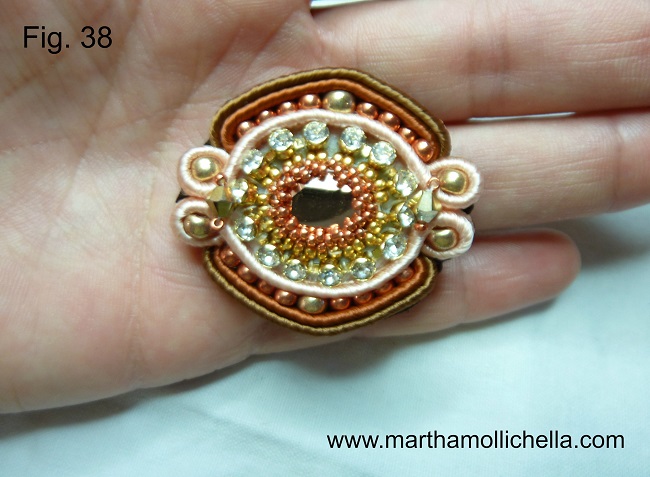
38) Cut stiff staff in excess.
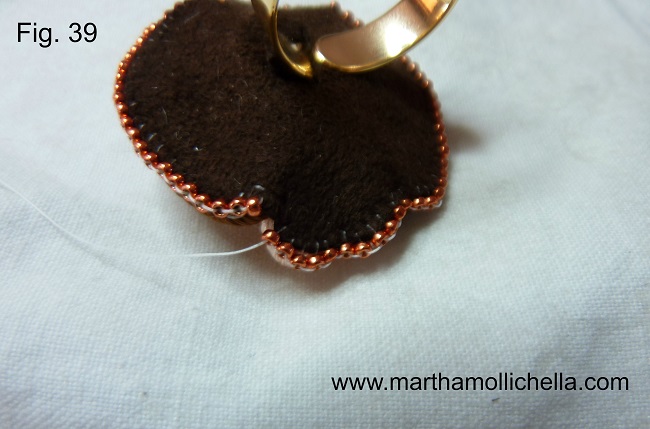
39) Now we begin to refine the ring with brick stich tecnique. I personally prefer to finish all my work in brick stitch because this type of finishing (which allows you to stitch together the back and front together) ensures stability and durability to work. Exit from ultra suede and add two Seed beads 15/0; Retract in the ultra suede and stripes and get it second bead inserted; The bead has to lay in the border between the ultra suede and soutache stripe. The first beads inserted will remain soft and not in place. Do not worry, it will be settled when you insert the final bead; for futher information you can google brick stich.
NB: Please note that the list of products below does not fully correspond to the presentation photo. For stock reasons, some of the products in this tutorial have been replaced by equivalents.


You have a question about this tutorial? Ask it to our team and the people who have already tested it. The Perles & Co community is here to help you!
Credits
Perles & Co, Internet & E-Commerce company [31/05/2017] Any reproduction, representation, adaptation, in any form whatsoever, even partial, is prohibited, except for reproduction for private use not intended for collective use, representation in the family circle (art. L 122-5 CPI) and online publishing on condition that the source is mentioned and a link is included to the corresponding page of our site www.perlesandco.com.
