Average Grades
Free shipping on orders over 50€ up to 500g
French Online shop for beads and accessories for the creation of DIY jewellery and other creative hobbiesLog-in
0
Shopping cart
Shopping cart

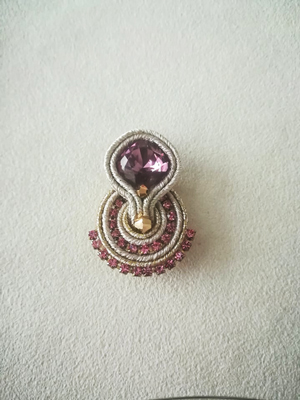
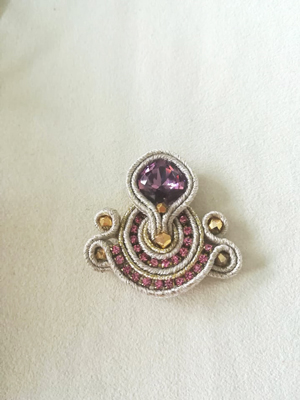
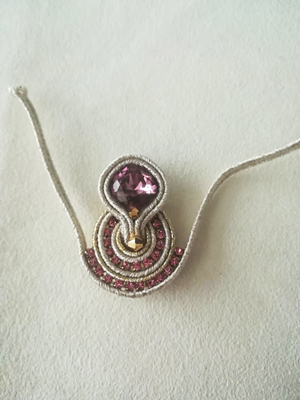
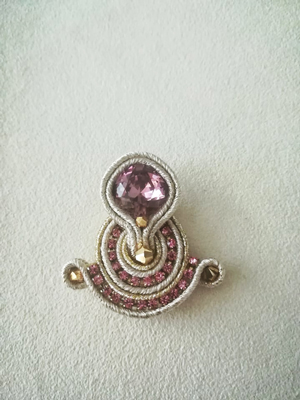
How to make soutache jewelry?
And it's our Italian partner Rosa aka Reje Soutache who today shows you how to make a pair of soutache earrings with cabochons and PureCrystal bicones.
Add a pretty pink rhinestone chain and you're done! We'll leave you with the tutorial.
The steps
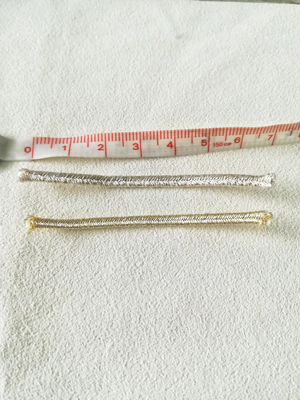
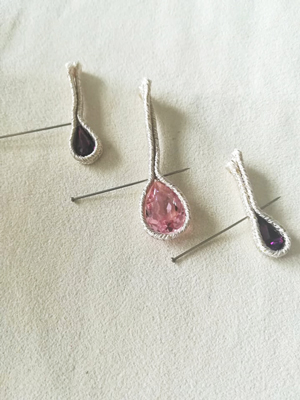
1) To begin, create the circle that will surround the PureCrystal cushion cabochon. To be as precise as possible, use a round pencil. Cut two pieces of soutache, one white and one gold.
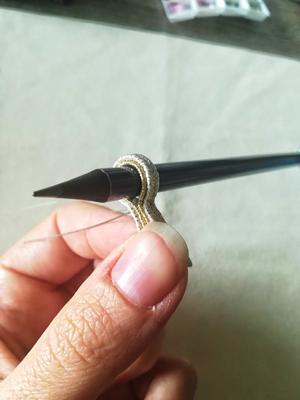
2) Wrap the two pieces of soutache around the pencil, sew them together and close the ends under the pencil.
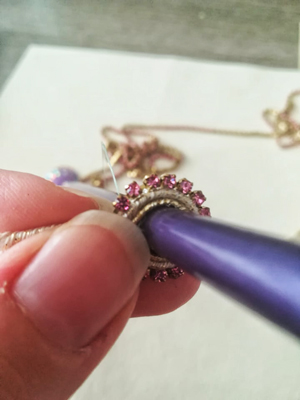
3) Also sew the rhinestone chain around the chain, sewing one piece of white soutache and one piece of gold soutache.
5) And here's the result
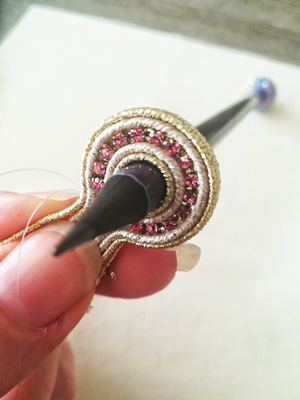
6) Wrap the cabochon between two pieces of white soutache, securing it with gutermann glue.
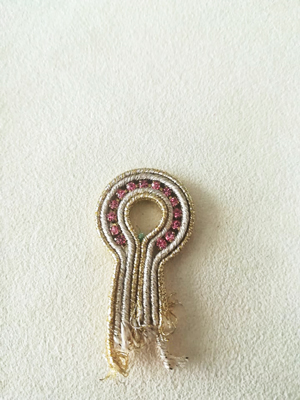
7) Insert the cabochon into the circle created earlier and secure them together with needle and thread.
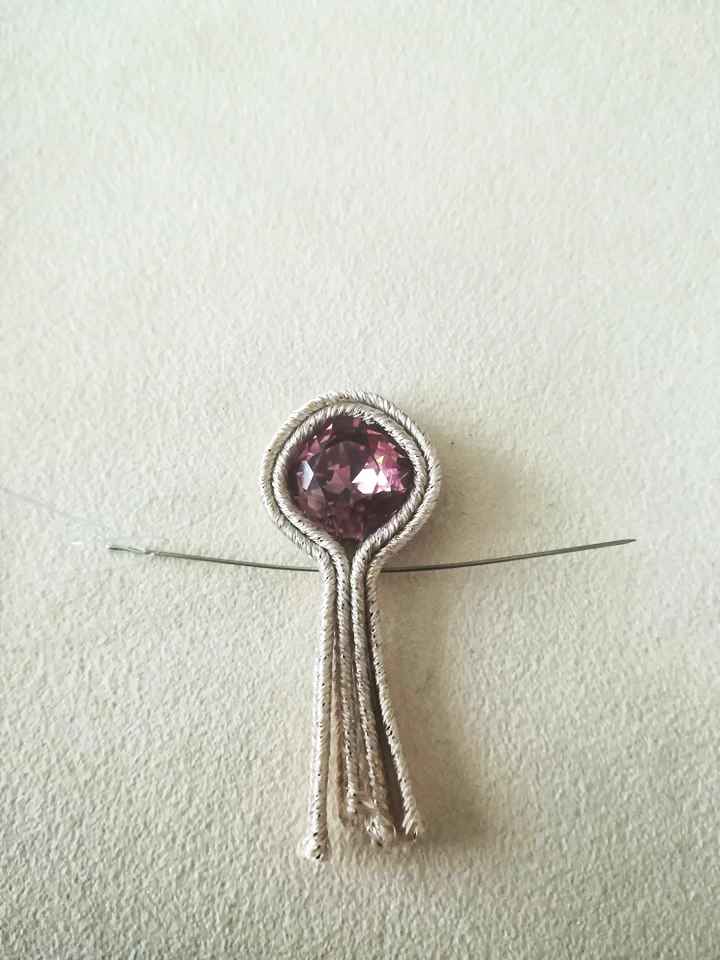
8) Pass the previous design through the cabochon and trim the excess.

9) As illustrated, sew a 3 mm and a 4 mm bicone (PureCrystal aurum).
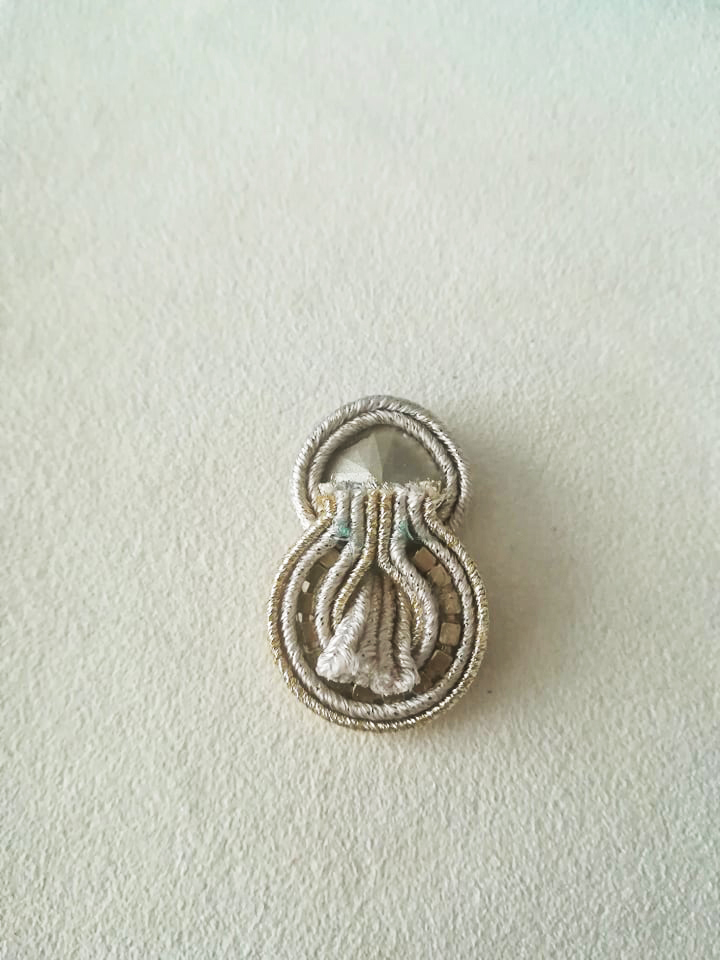
10) Sew a piece of rhinestone chain to part of the circle.
11) Sew a long piece of white soutache around the chain.
12) At both ends, insert two 4 mm bicones, turn the loop and sew to the back of the work.
13) Cut two pieces of white soutache, sew around the two bicones you inserted before, follow the outline and attach to the circle wall, then make two small circles by turning the cord on the back.
14) Wrap the cord around the three drops (one large and two small), adding a little gutermann glue.
15) Sew these three drops under the piece we've created so far, as if to create a tail.
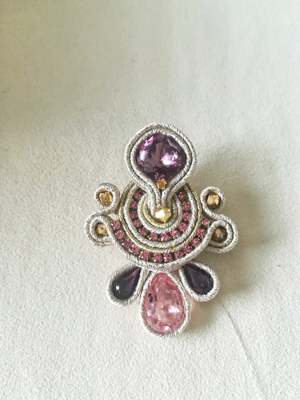
16) Take two pieces of gold soutache and wrap them around the two outer drops, attaching the two "antennae" to the large drop and turning the soutache on its back to form two loops.
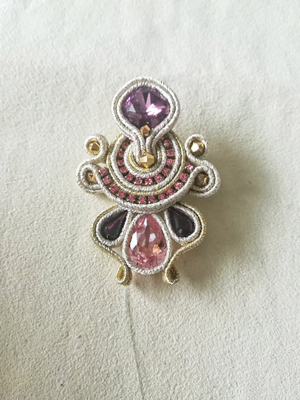
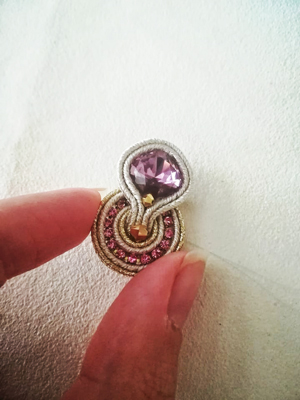
17) Between the two "antennas" sew the PureCrystal pendant with two 3 mm and two 4 mm bicones.
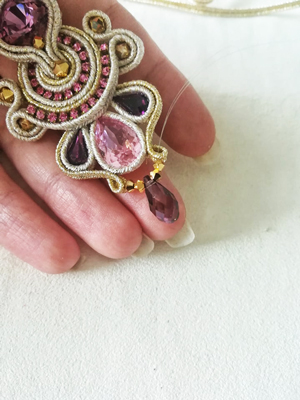
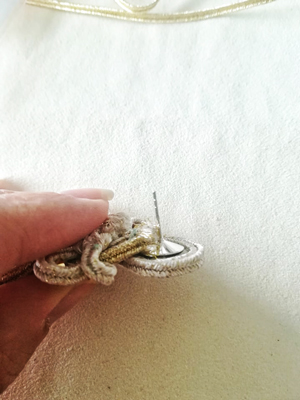
18) Attach the earring pin to the back, again with Gutermann glue.
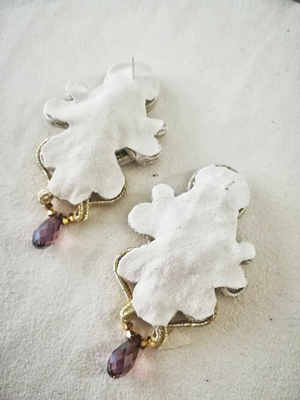
19) Coat the back of the earrings with ultrasuede and cut the outline precisely.
Now it's time to make the second earring!
Don't hesitate to share the result of your creation on social networks - on our Facebook page - by tagging us on Instagram or with #perlesandco


You have a question about this tutorial? Ask it to our team and the people who have already tested it. The Perles & Co community is here to help you!
Credits
Perles & Co, Internet & E-Commerce company [01/06/2020] Any reproduction, representation, adaptation, in any form whatsoever, even partial, is prohibited, except for reproduction for private use not intended for collective use, representation in the family circle (art. L 122-5 CPI) and online publishing on condition that the source is mentioned and a link is included to the corresponding page of our site www.perlesandco.com.
