Average Grades
Bonjour, je n'ai jamais fait ce genre de projet, quel fil utiliser et quelles aiguilles ? Merci :-)
1 Answer
Show answers


Timeless and symbolic, the ring is a trendy accessory and a must-have for our jewelry box. With Julie Roméro’s help , add the finishing touch to your style with this piece of hand jewelry. It’s easy to make and guaranteed to make an impression!
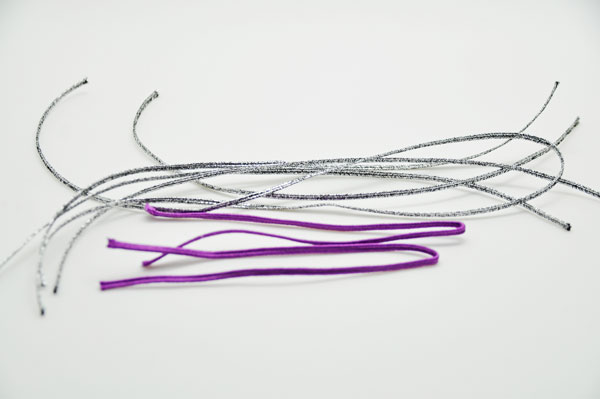
1) Cut 2 pieces of mauve soutache, each 25 cm long, and 3 pieces of metallic-colored soutache, each 30 cm long.
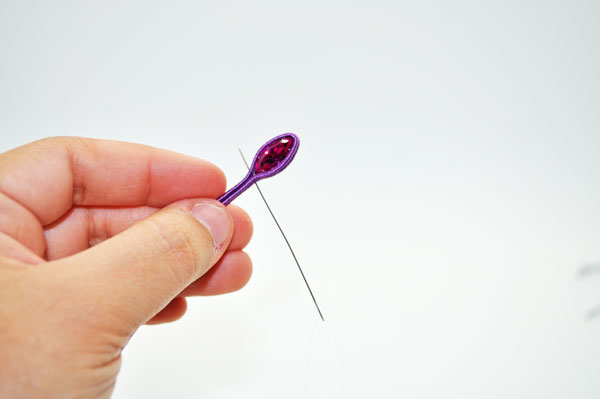
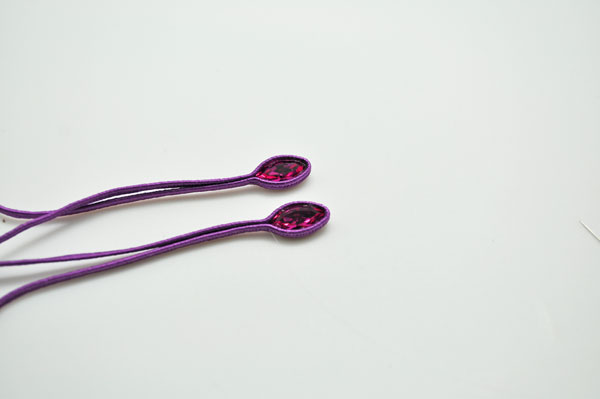
2) Take the mauve soutache strands and apply a thin line of glue to encircle the navettes.
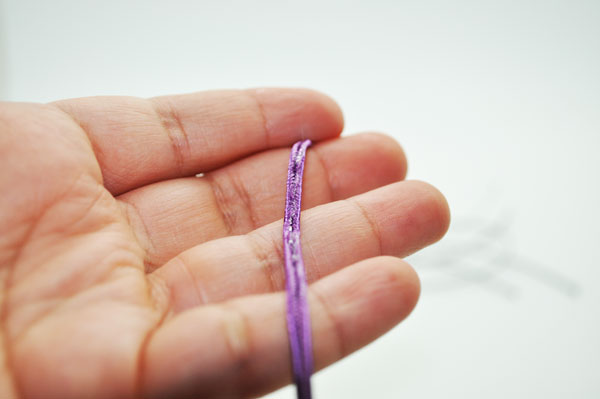
3) Gently wrap the ribbon around the navette, then sew the base to join the two ribbons. Make the second navette the same way.
4) Now take the metal soutaches in pairs and begin sewing by creating a picot as shown in the photo. Then we’ll sew a diamond shape using bicones.
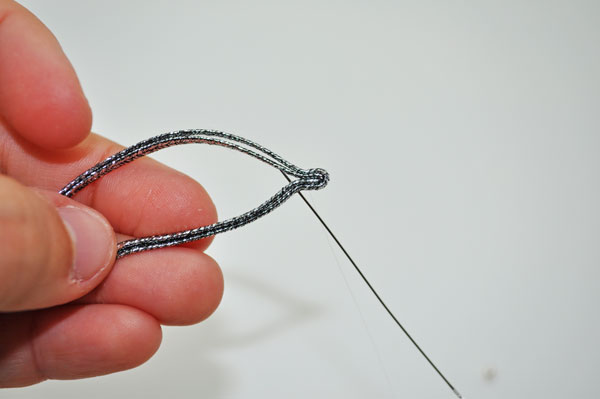
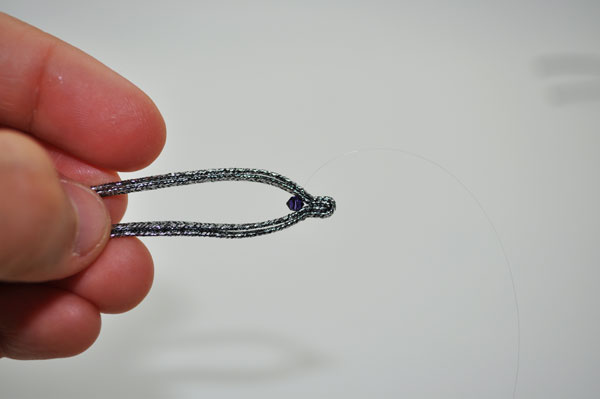
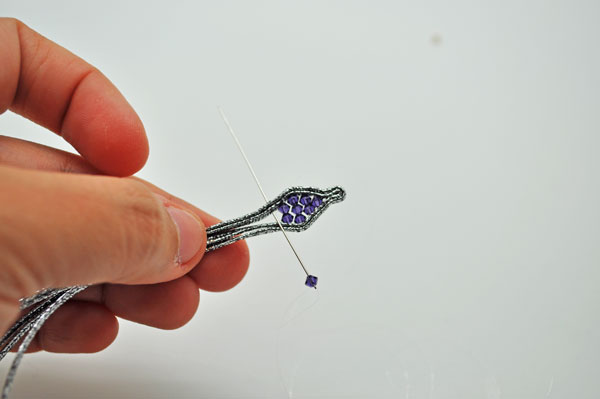
5) Secure the base of the diamond you just formed by sewing only along the base.
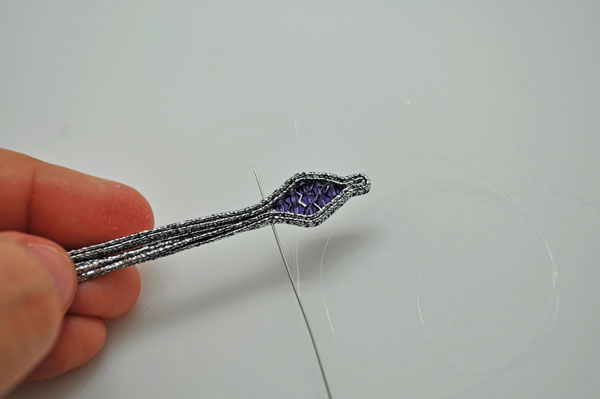
6) Now sew the three modules together down to the base of the navette.
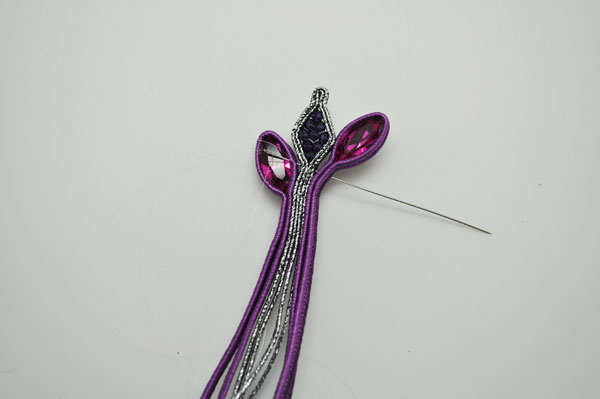
7) Make another module using the elongated oval cabochon.
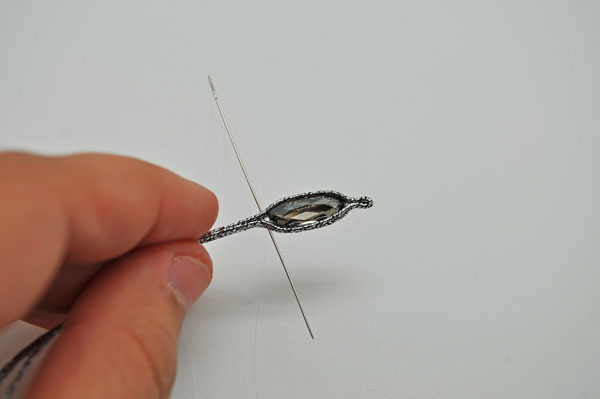
8) Attach it by sewing it to the previous 3 modules.
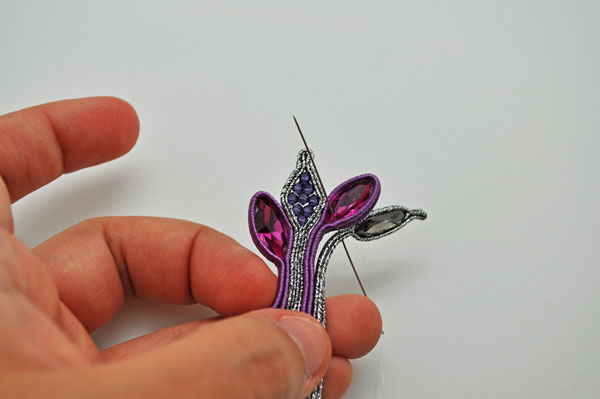
9) This time, continue sewing with small, close-set blind stitches, forming a loop.
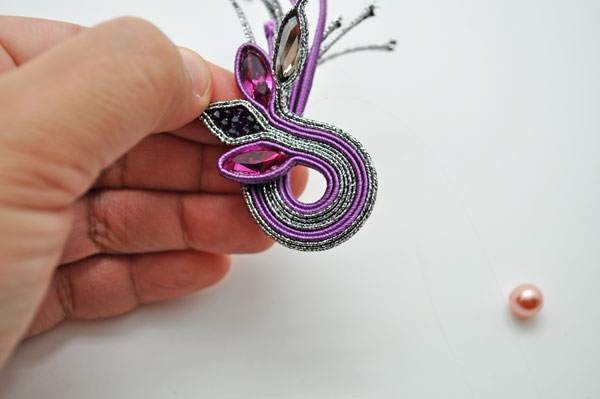
10) When you reach the middle of the loop, insert the bead, pass the thread through the bead 2 or 3 times to secure it, then continue sewing.
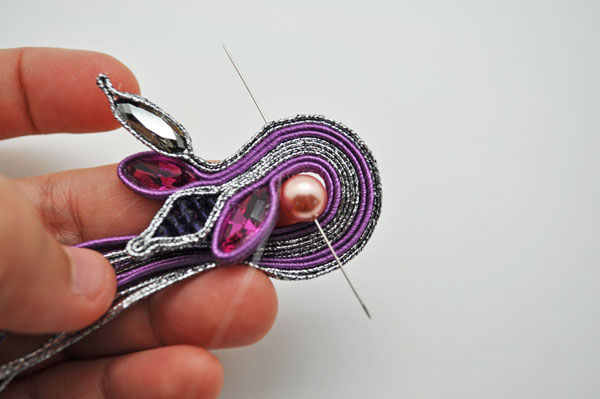
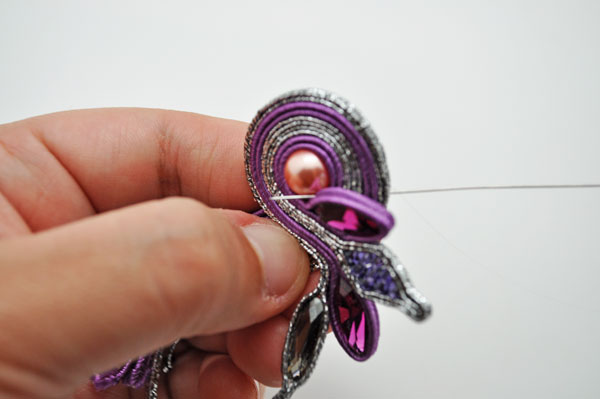
11) Cut off the excess soutache, but keep the 3 outer strands to form a small loop on the side.
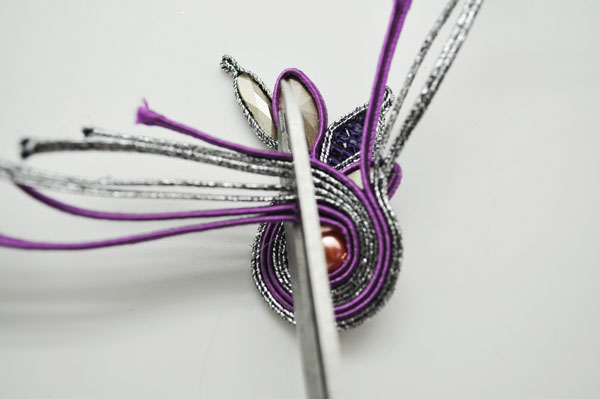
12) Turn your work inside out, then sew the small loop in place and insert a small 3mm bead.
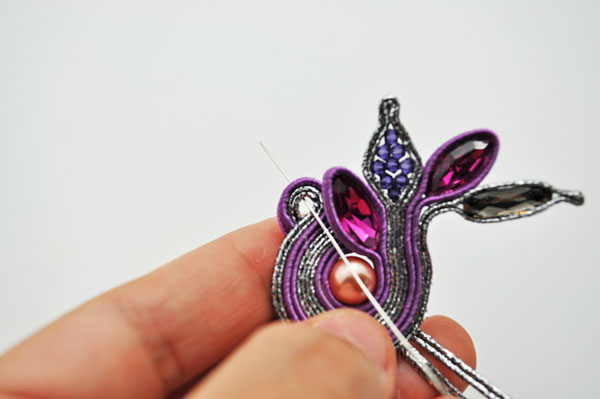
13) Next, secure your work firmly on the back by tying a finishing knot.
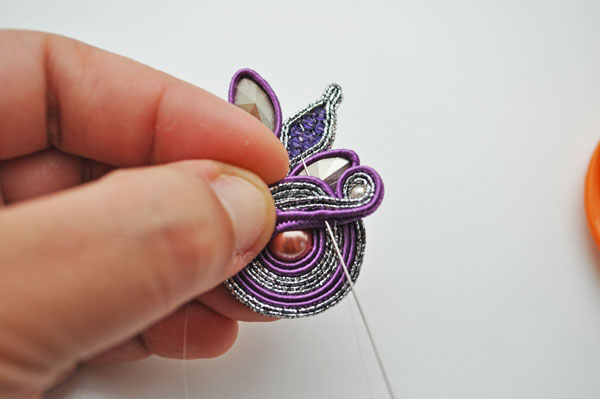
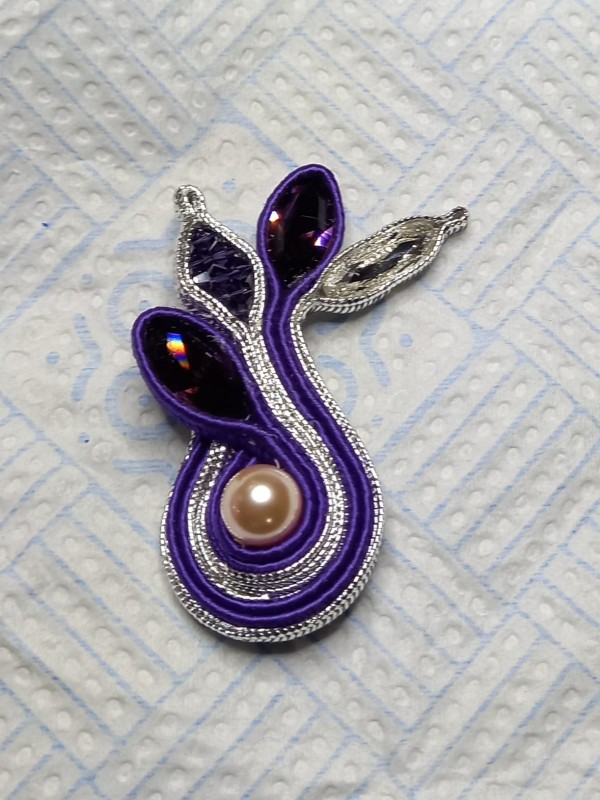
14) You should end up with this.
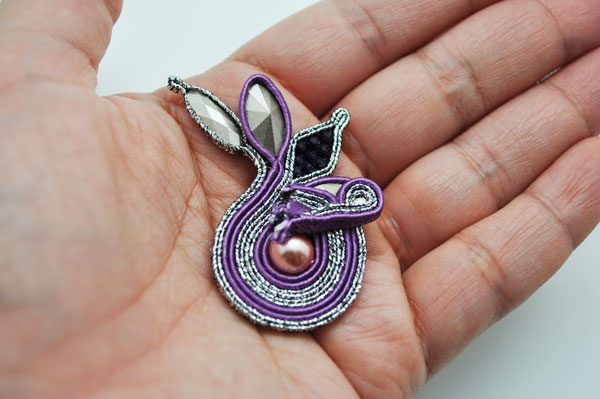
15) Cut out the shape from a piece of ultrasuede.
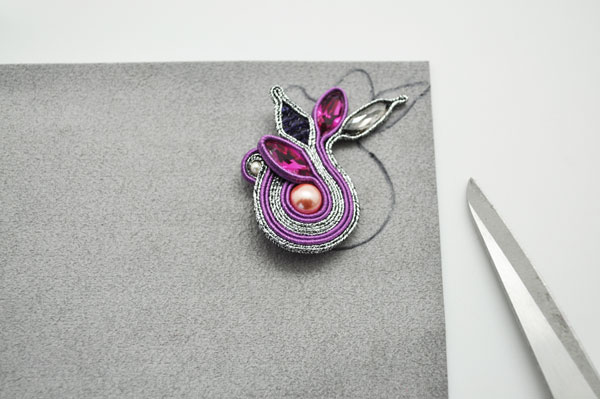
16) Cut a small slit in the middle like this (just a little).
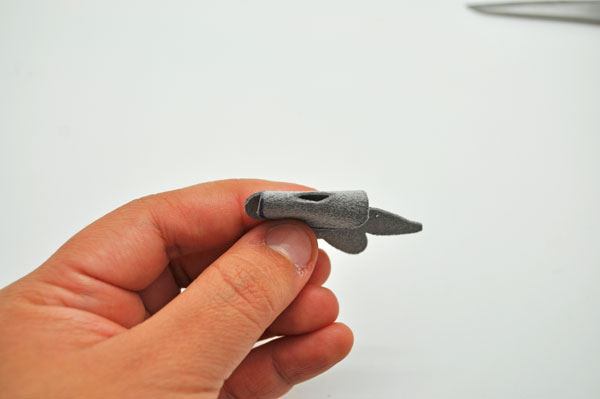
17) Thread the base through the small hole in the middle.
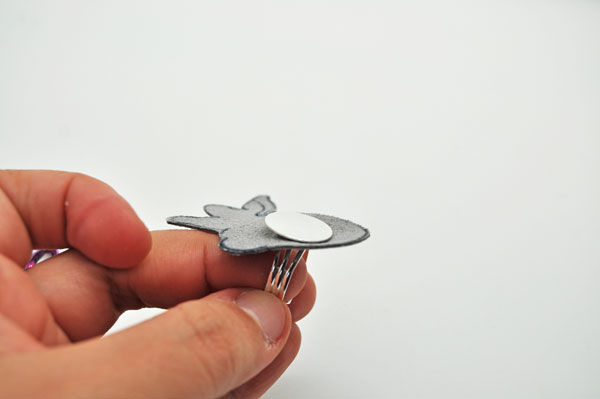
18) Apply a small amount of glue to the back of your piece, then sew the ultrasuede to the module with very close stitches (blind stitch), working gently without pulling too hard on the thread. Trim off any excess ultrasuede, if there is any.
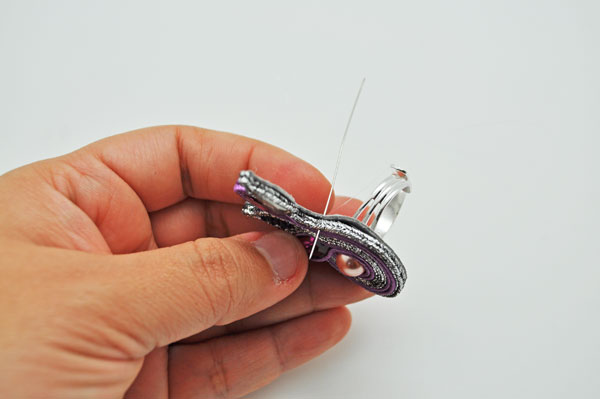
And there you have it—a chic ring in no time!
We’d love to see your version of this ring. So feel free to send us photos on Facebook or by email—it might inspire others!

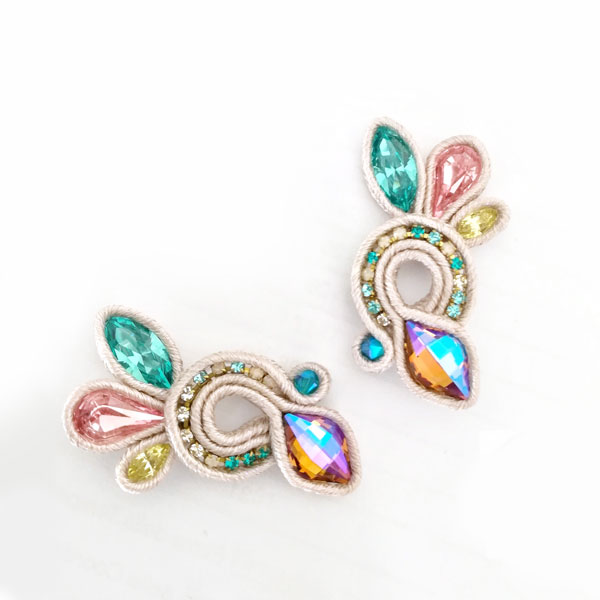



You have a question about this tutorial? Ask it to our team and the people who have already tested it. The Perles & Co community is here to help you!
Credits
Perles & Co, Internet & E-Commerce company [23/05/2018] Any reproduction, representation, adaptation, in any form whatsoever, even partial, is prohibited, except for reproduction for private use not intended for collective use, representation in the family circle (art. L 122-5 CPI) and online publishing on condition that the source is mentioned and a link is included to the corresponding page of our site www.perlesandco.com.