Cut 6 pieces of Linhasita thread, each 16 cm long. Thread 2 delicas 11/0 beads on each thread. Fold the threads in half with a bead on each side. Ladder stitch all the beads one after the other, making sure all the Linhasita threads are on the same side.
Video - Miyuki fringed earrings with Linhasita macramé thread
How to make beaded fringe earrings?
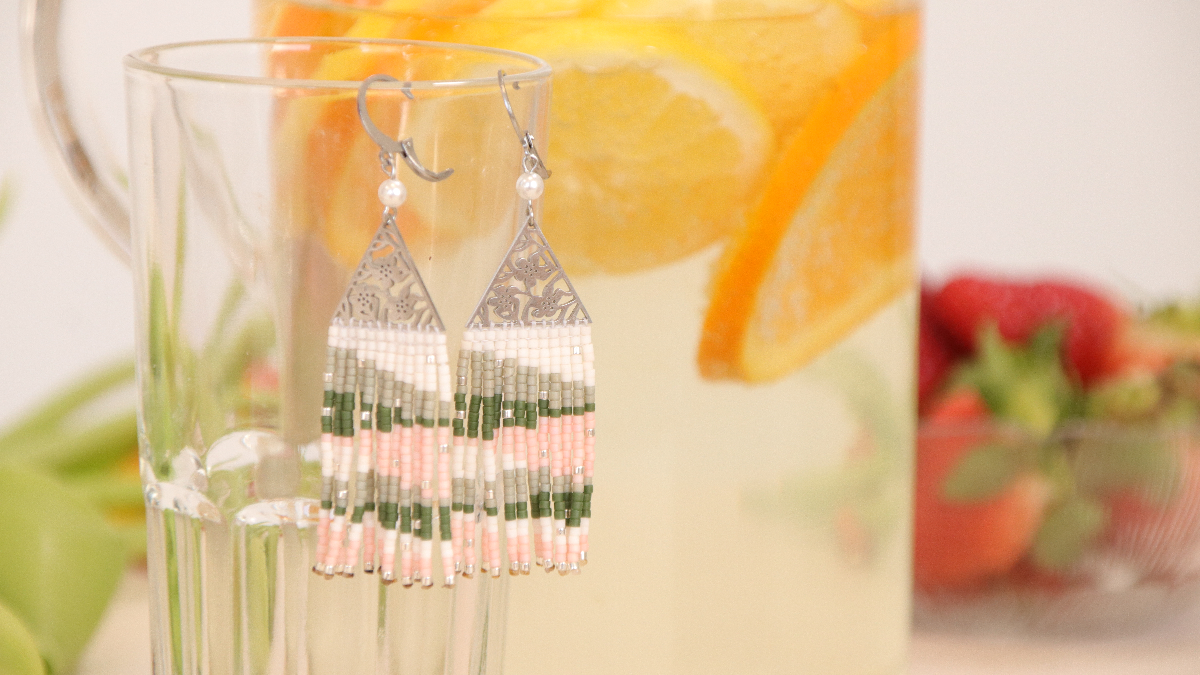
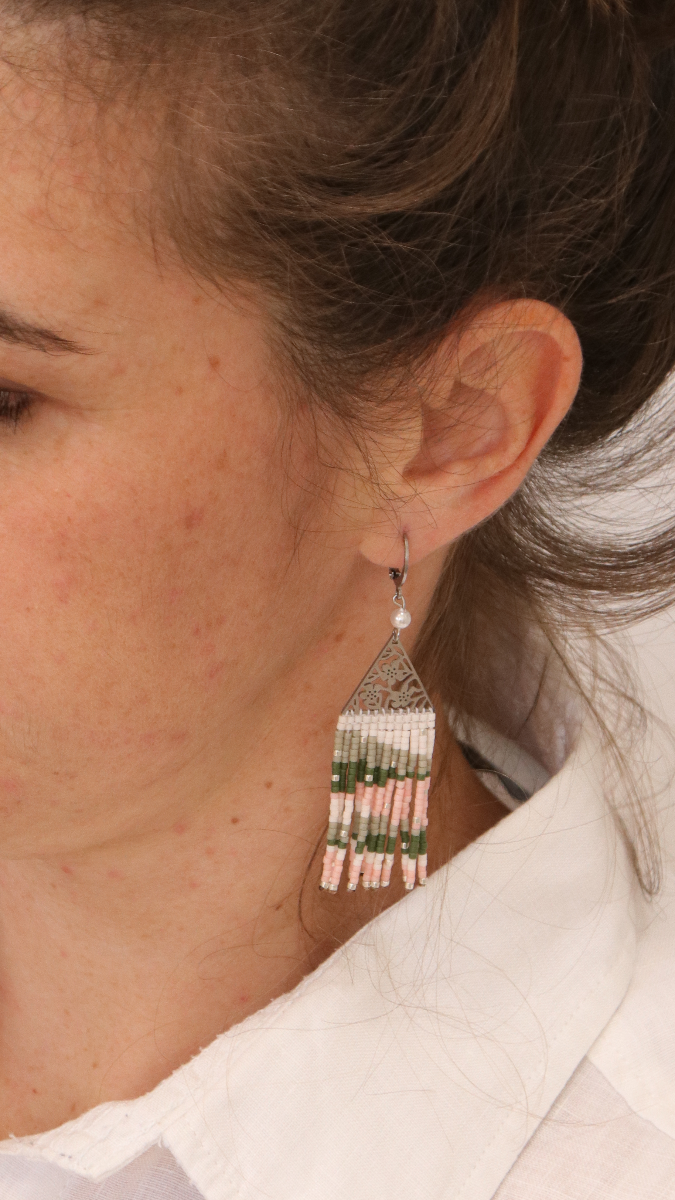
You may have already made fringed miyuki earrings using the Brick Stitch technique? This technique was presented in this tutorial: How to make pastel earrings using Brick Stitch. Here is a new way to make your earrings. In this video tutorial, we used triangular stainless steel pendants as a support to hang our beaded fringes. You can also use triangular or square brass shapes. You need a straight surface to hang your beads on to get the same result as in the picture, but you can experiment with a drop shape.
Tutorial steps
Attach the bead band to the stainless steel triangle. For this, your wire must come out on the opposite side of the fringes. Pay attention to the direction of the triangle because the 3 sides are not the same. Go through the first hole of the triangle and return to the exact same bead. Squeeze and move on to the next bead. Repeat this step for each bead.
Do not cut the thread right away. You will need it to bring the fringes together. Thread on each Linhasita thread the beads corresponding to the pattern. The first line of the pattern is already done. When you have finished a fringe, cut the Linhasita thread at 0.8 mm from the last bead. Make sure that the beads are tight and stuck to the first bead, then melt the thread with a lighter. Do this in a ventilated environment and do not breathe in the fumes. The melted wire must create a mass against the last bead that will prevent the beads from falling. This mass must be large enough.
Once all the fringes are done, you can bring them a little closer together by ironing the weaving thread into the second row of beads, making loops like in ladder stitch and taking the first and second bead at the same time. Finish by ironing the thread through the fringes to hide it and cut it off.


You have a question about this tutorial? Ask it to our team and the people who have already tested it. The Perles & Co community is here to help you!
Credits
Perles & Co, Internet & E-Commerce company [31/03/2021] Any reproduction, representation, adaptation, in any form whatsoever, even partial, is prohibited, except for reproduction for private use not intended for collective use, representation in the family circle (art. L 122-5 CPI) and online publishing on condition that the source is mentioned and a link is included to the corresponding page of our site www.perlesandco.com.