Average Grades

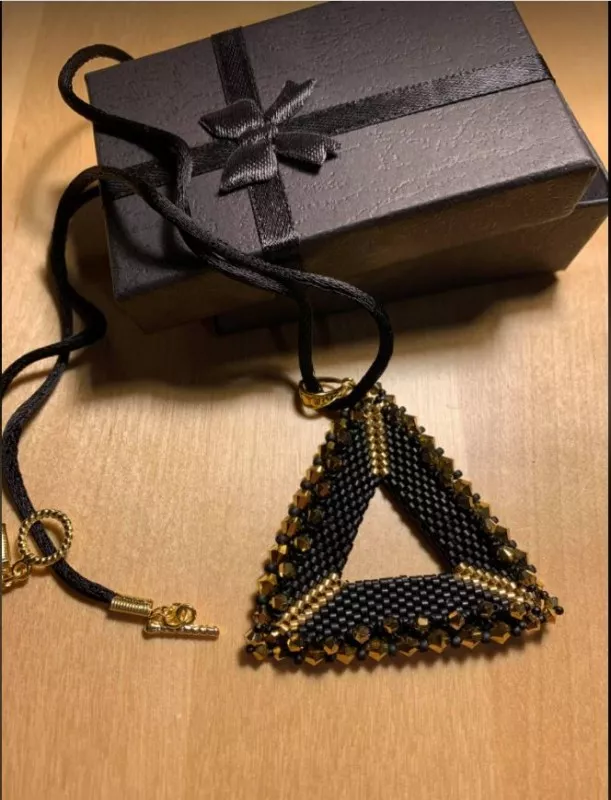
Start by stringing 15 black Miyuki Delicas 11/0 beads (DB11), then 2 gold-colored DB11s and repeat the process 3 times. Pass the thread through the first 16 beads to make a loop. Your thread should exit at the 1st gold-colored DB11 bead.