Free shipping on orders over 50€ up to 500g
French Online shop for beads and accessories for the creation of DIY jewellery and other creative hobbiesLog-in
0
Shopping cart
Shopping cart

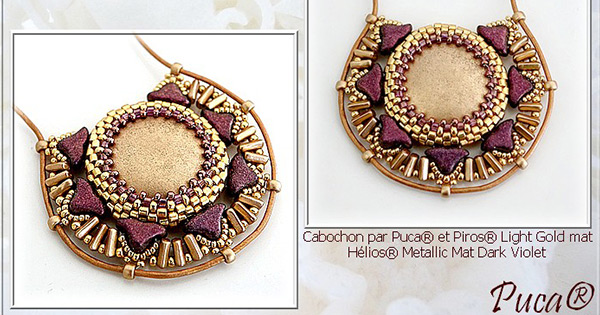
How to make a glass bead pendant?
And to close the release of the new beads, here is our last tutorial: the Gaia pendant combining two of our latest novelties: glass cabochons and the new colors of Hélios glass beads by Puca.
To personalize your jewel, you can obviously take a look on our site and find among all our references of cabochons, seed beads and glass beads, your favorite colors.
For fans of glass bead jewelry, find on our site all our other Puca tutorials
Find all the material necessary for the realization of this tutorial at the bottom of the page (note, for stock reasons some references can be replaced by similar references).
Steps :
Step 1 : Place 48 Miyuki Délicas 10/0 (DB-10) and close

Step 2 : Make 5 rows with the peyote weaving technique with the DB-10 beads then make 1 row with the R11

Step 3: Make 1 row with DB11 (Miyuki Délicas 11/0)

Step 4: Make 1 row with R15

Step 5: Turn your work, place your thread as shown in the photo then place your cabochon

Step 6: Make 1 row with R11 then 1 row with DB11

Step 7: Make 1 row with R15 and position yourself as shown in the photo

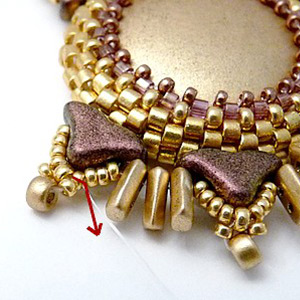
Step 8: Place 1 Helios, 4 R15, 1 R11, 4 R15 then go into the Helios and stand here

Step 9: Position yourself at the location shown in the photo

Step 10: Repeat steps 8 and 9 to place your 7 Helios
Step 11: Place yourself in the R11

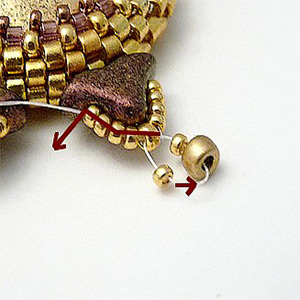
Step 12: Loop 1 R15, 1 R8, 1 R15 in R11
Step 13: Place 3 Piros and come and stand here

Step 14: Continue by performing step 13 the entire row

Step 15: Come and stand here passing through the rockeries of step 12

Step 16: Place yourself in the R15 (important) shown in the photo
Step 17: Place 1 R11 between the Piros

Step 18: Place 1 R11 and make the loop in the rockeries and place yourself in the R15 shown in the photo. Repeat steps 17 and 18 the entire row and end your yarn

Step 19: Place your cord in the R8s
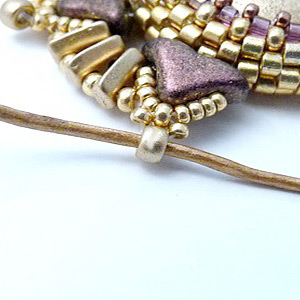
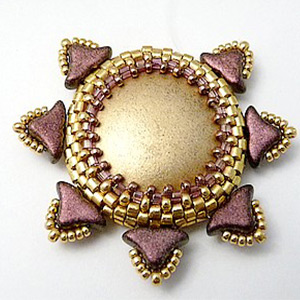
Step 20: You get this.

There you go, your Gaia pendant is finished! Here is a variation of colors for those who like bright colors.

Do not hesitate to share with us the result of your creations by posting a photo on our social networks: our Facebook page and our Instagram page


You have a question about this tutorial? Ask it to our team and the people who have already tested it. The Perles & Co community is here to help you!
Credits
Perles & Co, Internet & E-Commerce company [30/07/2020] Any reproduction, representation, adaptation, in any form whatsoever, even partial, is prohibited, except for reproduction for private use not intended for collective use, representation in the family circle (art. L 122-5 CPI) and online publishing on condition that the source is mentioned and a link is included to the corresponding page of our site www.perlesandco.com.
