How to make an elastic bracelet with Tila rectangular beads?
How to make an elastic bracelet with Tila rectangles beads ?
The elastic bracelets are DIY jewelry very easy to achieve. The difficulty is to successfully close the bracelet because it is a very slippery thread and normal knots are difficult to hold. The use of beads to crush is also deprecated most of the time because if the beading of the bead is not perfectly executed, its metal edges can rub against the elastic and weaken it. Follow the recommendations below to make your elastic bracelets.
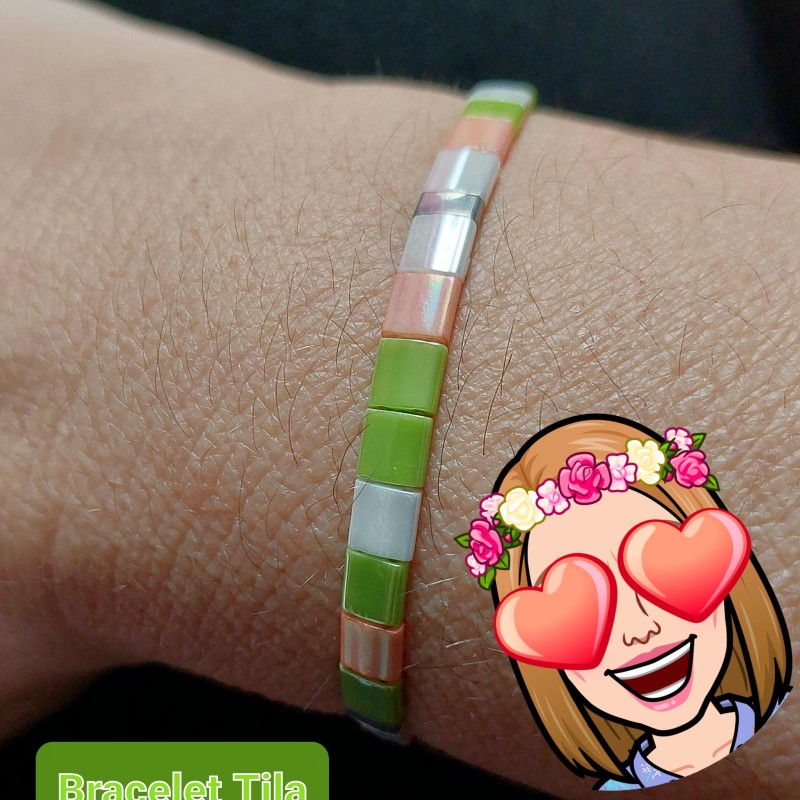
We explain in this tutorial how to make elastic bracelets with Tila glass beads from the Japanese brand Miyuki. These pearls have two holes, so it will be necessary to use two pieces of elastic thread. So that the end nodes are not too visible, we will use an elastic thread of less than 0.50 mm even if the hole of the Tila beads is 0.8 mm. The pearls are not very heavy, so there is little chance that the wire is deformed.
Each bracelet requires few pearls. On average an elastic bracelet made with this tutorial will cost you between 1.75 euros and 2.15 euros of material. Take the opportunity to make gifts to your friends or family with the rest of pearls or test these tutorials:
NB: The elastic thread is not eternal. It is afraid of direct sunlight, heat, extreme cold, salty or very calcareous water and solvents. To keep your bracelets as long as possible, keep them in the shade in a non-humid room and avoid spraying on your wrists.


Step 1 :
Cut two pieces of 25 cm thread. Pre-stretch the thread by pulling on it. The elastic thread relaxes a bit when worn, so it will relax before. Make a simple knot at the end of each thread. The knot should not be too tight. This step will prevent pearls from falling when you thread them.
2nd step :
Place the other two ends of knotless yarn between your thumb and forefinger, one slightly higher than the other. Thread the pearls one at a time, first passing the longest thread, then the shorter one in the two holes of the right beads.
Step 3:
Remove the knots of one of the threads and make three knots surgeon with its associated end of thread to finish the bracelet (cf: technical sheet "how to make a knot surgeon"). The surgeon's knot is very simple, act as if you were doing a simple knot, but wrap one of the threads around the other a second time. Tighten the two wires tightly but also the knot from the inside of the bracelet once you have done the three surgeon knots in a row. Be careful not to cross the threads and check that your bracelet is not twisted before you tie the other two pieces of thread.
Step 4:
Slip the thread ends into the previous bead on both sides. Spread beads to put jewelry glue on the knots so they are covered and put a little on the threads. Pull the ends of the threads to slide them properly into the beads. Let dry and cut off excess wire.

NB: Attention, the list of products below is not completely in conformity with the picture of presentation. For stock reasons, some products in this tutorial have been replaced by equivalents.