Average Grades
Free shipping on orders over 50€ up to 500g
French Online shop for beads and accessories for the creation of DIY jewellery and other creative hobbiesLog-in
0
Shopping cart
Shopping cart
Install Perles & Co on your home screen: tap the Share button in Safari, then "Add to Home Screen".
Install Perles & Co on your home screen for quick access and real-time updates.
Enable notifications to track your orders and never miss our highlights.
.png "Jewelry primers: a beginner's guide to choosing the right primer (and not forgetting anything)")
Primers are the small parts you need to assemble, finish and wear your jewelry: clasps, rings, pins, end caps, settings... Each family has a precise role, and choosing them well makes all the difference between a solid piece of jewelry and a creation that won't hold together. To get started with confidence, opt for a ready-made kit or build up your own basic stock by adapting the size and metal to your project.
You've got your beads, your thread, your ideas... but just as you're about to finish the bracelet, you realize that something is missing. A clasp? An end piece? A ring of the right size? It's time to discover the world of jewelry primers. Those little pieces that make all the difference between a creation that holds together and one that frays on first wear.
This guide is for you if you're just starting out and don't know where to begin. We go through the 8 main primer families, explain how to choose, and offer you a simple starter kit to create serenely from day one.
A primer (or "finding" in English) is a non-decorative component used to assemble, finish or wear a piece of jewelry.
Jewelry primers are divided into broad families according to their function: closure, bonding, finishing, support. To avoid getting stuck in the middle of a project, it's best to know them before you start.
Here are the 8 families of jewelry primers you need to know:
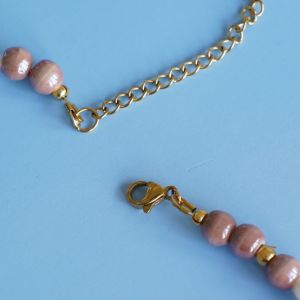
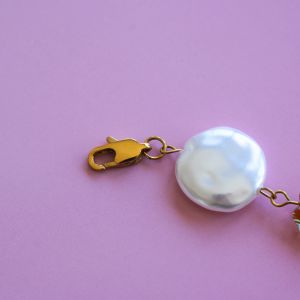
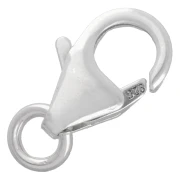
The clasp is the part that allows the jewel to be put on and taken off. It is used on bracelets and necklaces.
The most common types :
👉 For a detailed comparison, check out our dedicated guide: Which jewelry clasp to choose?

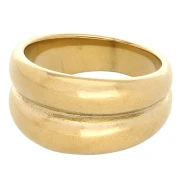
Thejunction ring is the most widely used primer in DIY jewelry. It's used to link elements together: connecting a clasp to a wire, attaching a charm to a chain, assembling links.
How do I choose the right ring size?
There are also double rings, which are stronger, and oval rings, which are useful when space is limited.
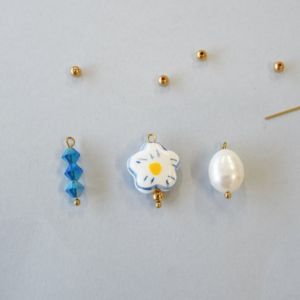
Rods (or "nails" or "headpins" and "eyepins") are simple, rigid wires with a particular end.
One end is flat, round or ball-shaped; a bead is threaded through and a loop is formed at the other end to create a pendant.
They can be used to transform a bead into charms, or to suspend elements in earrings, for example.
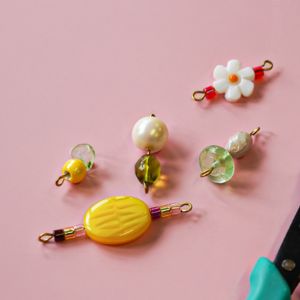
A setting is a metal support designed to receive and frame a cabochon. They are available in square, round, oval or teardrop-shaped settings... The cabochon is simply glued to the setting or attached to it (in claw settings, for example). It's the ideal primer for creatingpersonalizedrings, earrings or pendants.
Stainless steel settings are particularly recommended for sensitive skin: resistant and hypoallergenic, they keep their shine over time.
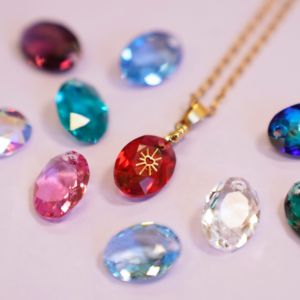
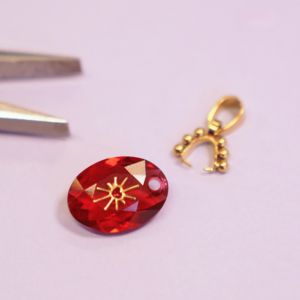
A bélière (or pendant fastener) is a small metal piece that attaches directly to a pendant: a stone, a crystal, a cabochon, to enable it to be slipped onto a chain or cord.
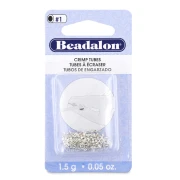
Crimp beads are small metal beads that are placed on the thread, then crushed with pliers to secure it permanently. They're a must-have on wired assemblies, and allow you to secure a clasp neatly without visible knots.
Crimp beads are used on top to hide the crushed bead and give a neat, rounded finish. It's a small detail that really makes a difference.
Working with leather cord, waxed cotton, suede or paracord? Thecordendis the primer you need. It can be placed at either end of the cord, closed with pliers, or slipped on with a glue dot and used to attach a clasp directly. The result: a clean, professional finish with no visible knots.
The key point to remember: the size of the end cap must correspond precisely to the diameter of your cord (0.8 mm, 1 mm, 1.5 mm, 2 mm...). A tip that's too large will slip, and one that's too small won't fit.
👉 To find out which end fits which cord, consult our guide.
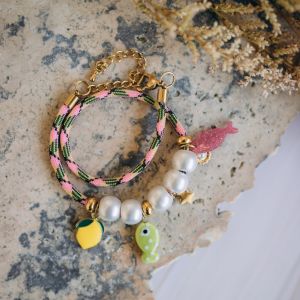
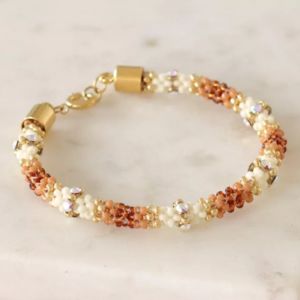
Bracelets, necklaces, earrings: ready-to-decorate bases are a valuable shortcut for beginners. The structure is already there, all you need to do is add your beads, pendants or charms.
Ideal for testing compositions without worrying about technical assembly.
The metal of your primers has an impact on durability, price and skin tolerance.
| Use | Metal |
| Permanently worn jewelry | Stainless steel, 925 Sterling Silver |
| Contact with water (pool, sea) | Stainless steel |
| Sensitive skin / nickel allergy | Stainless steel, Gold Filled |
| Tight budget for beginners | Gold-plated brass, silver-plated metal |
| High-end jewelry | 925 Sterling Silver, Gold Filled |
For full details on metals (composition, durability, care), see our complete guide: Choosing the right materials for long-lasting DIY jewelry.
Avoid these common faux pas:
Would you rather avoid all these questions? If you're just starting out, and don't want to think about each individual piece, the simplest solution is to opt for a ready-made jewelry kit. Everything is already selected and matched: beads, wires, clasps, rings - all that's left to do is create.
Check out our DIY jewelry kits: they're ideal for making your first pieces of jewelry without any headaches, and often come with a step-by-step tutorial.
.png "Schema Jewelry primers: a beginner's guide to choosing the right primer (and not forgetting anything)")
.png "Schema Jewelry primers: a beginner's guide to choosing the right primer (and not forgetting anything)")
A jewelry setting is a functional (non-decorative) part used to assemble, finish or hold together the elements of a piece of jewelry. Clasp, ring, ferrule, stem, connector: these are all primers. Without them, it's impossible to create a finished, wearable piece of jewelry.
To get you started, opt for connecting rings (4 and 6 mm), Lobster Clasps and Crimp beads. These three elements are all you need to create simple bracelets and necklaces.
The Lobster Clasp is the sturdiest and most practical for everyday bracelets. Toggle clasps are more aesthetically pleasing, but don't always suit every style.
No. If you have reactive skin or a nickel allergy, opt for 316L stainless steel. It is hypoallergenic and does not oxidize.
Credits
Perles & Co, Internet & E-Commerce company [11/06/2026] Any reproduction, representation, adaptation, in any form whatsoever, even partial, is prohibited, except for reproduction for private use not intended for collective use, representation in the family circle (art. L 122-5 CPI) and online publishing on condition that the source is mentioned and a link is included to the corresponding page of our site www.perlesandco.com.
