Free shipping on orders over 50€ up to 500g
French Online shop for beads and accessories for the creation of DIY jewellery and other creative hobbies

Log-in

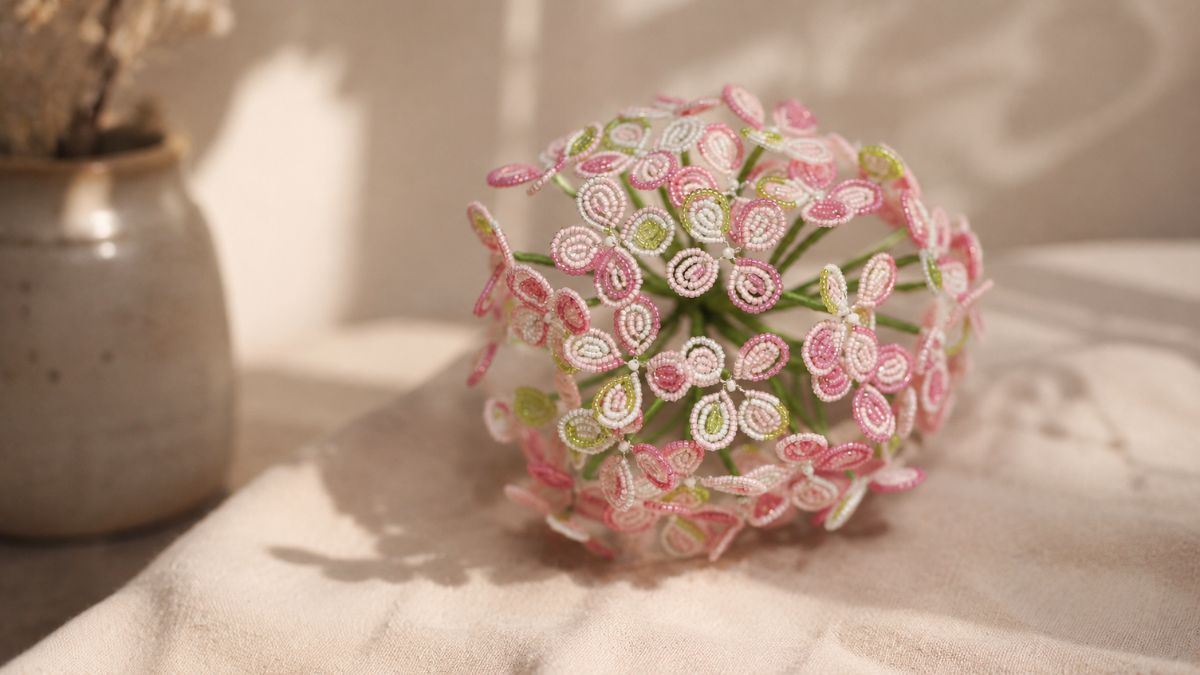
Miyuki Seed Bead Flower - Hydrangea

Made by : Geerthana
Published on the :13/07/2026
Time :7h
Level :Easy
Prices :27,92€
Miyuki Seed Bead Flower - Hydrangea

How do you make beaded flowers?

Learn how to make a beautiful beaded hydrangea flower with our tutorial on the French Beading technique. Very trendy in the world of crafts, this method allows you to create highly realistic beaded flowers —perfect for long-lasting decor, a timeless bouquet, or a handmade gift.

This tutorial guides you through every step of creating your hydrangea. Whether you’re a beginner or already passionate about beading, you’ll discover how to shape the petals, assemble the small flowers characteristic of the hydrangea, and achieve a harmonious result. With clear instructions and practical tips, you’ll master the basics of French Beading while creating a refined piece.

Bead flowers are becoming increasingly popular among DIY enthusiasts, decor lovers, and crafters. Unlike natural flowers, they retain their luster over the years and add a touch of elegance to your home. The hydrangea is particularly prized for its generous blooms, which look lovely when recreated with beads.

This tutorial highlights the supplies needed to create a beaded flower bouquet, including: floral tape and flower stems. You can customize the colors of the Miyuki 11/0 and Miyuki 8/0 beads to create a bouquet that reflects your personal style!

If you’re looking for a beaded flower tutorial, a DIY beaded hydrangea, ideas for beaded creations, or want to learn the art of beaded floral design, this guide is for you. Dive into French Beading and bring to life a magnificent beaded hydrangea—a delicate creation that will stand the test of time without ever losing its beauty.

Tutorial steps

Step 1
Miyuki Seed Bead Flower - Hydrangea : Step 1

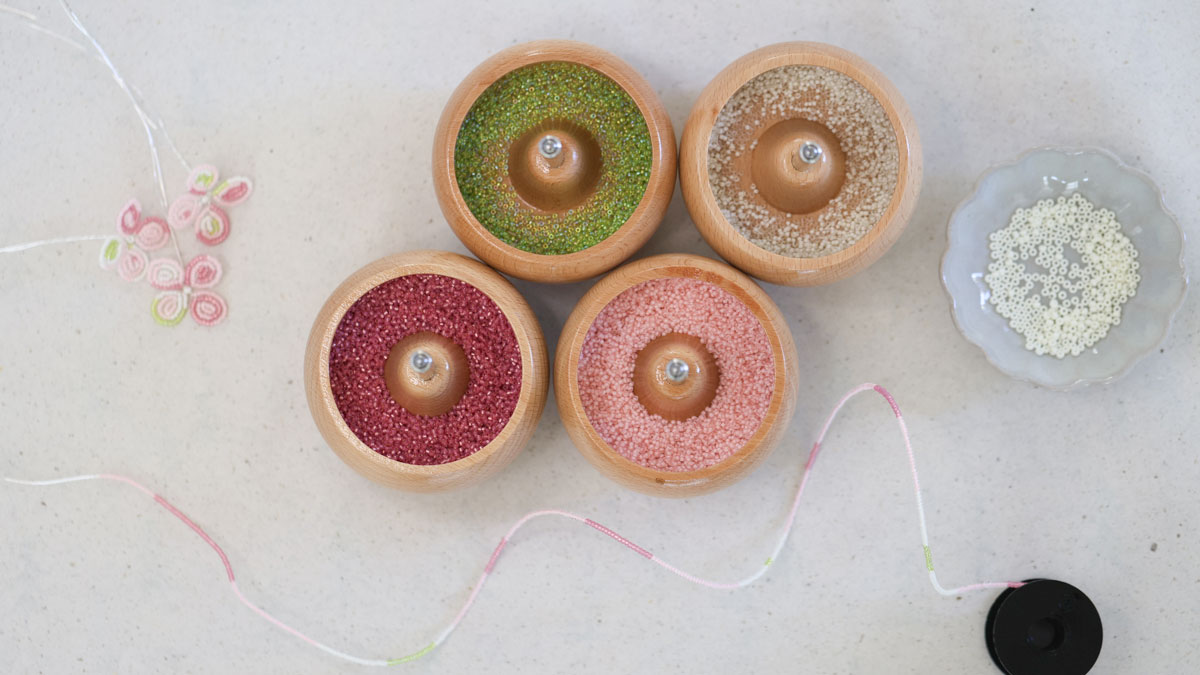
Start by stringing the following onto the copper wire in this order: 4 to 8 cm of Light Pink Miyuki, 2 to 6 cm of Dark Pink, 4 to 8 cm of Light Pink, 2 to 5 cm of White, 1 to 2 cm of Light Green, 4 to 8 cm of Light Pink, and 2 to 6 cm of Dark Pink. Repeat this until you have strung about 1 meter of beads onto the wire. 

Step 2
Miyuki Seed Bead Flower - Hydrangea : Step 2

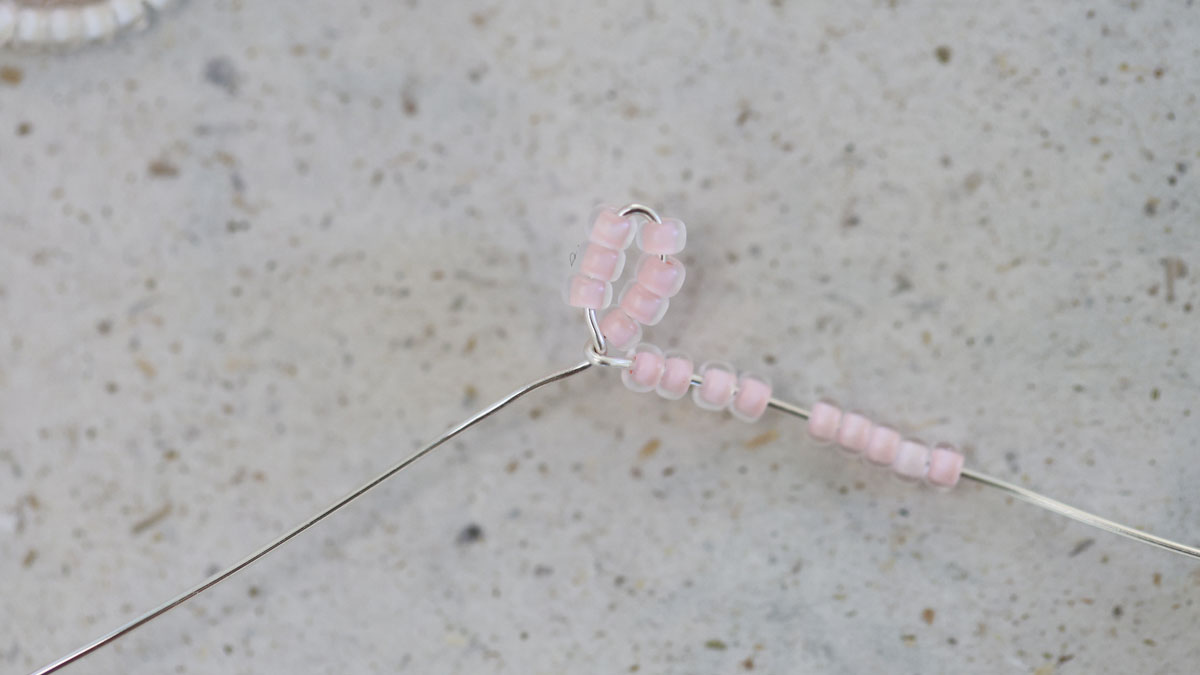
Next, leave the first 15 cm of the string without beads. Make a small loop with 7 beads and twist the strands together one full turn. 

Step 3
Miyuki Seed Bead Flower - Hydrangea : Step 3

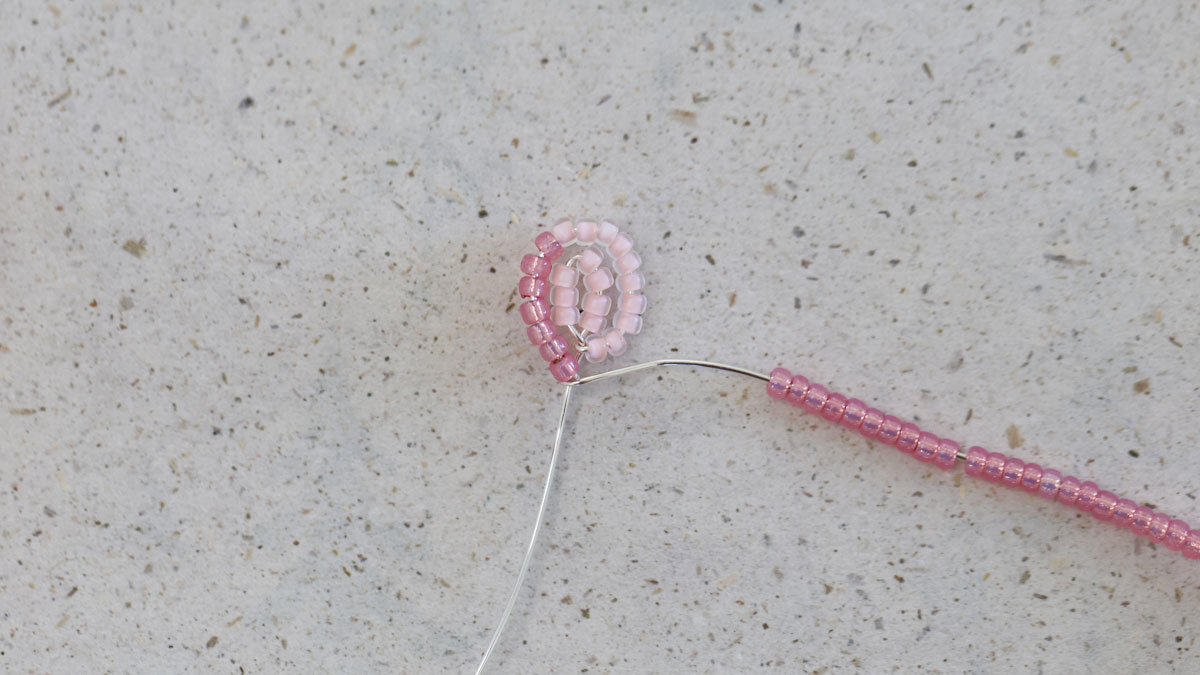
Make a larger loop around the first one using as many beads as needed. Twist the threads one full turn. 

Step 4
Miyuki Seed Bead Flower - Hydrangea : Step 4

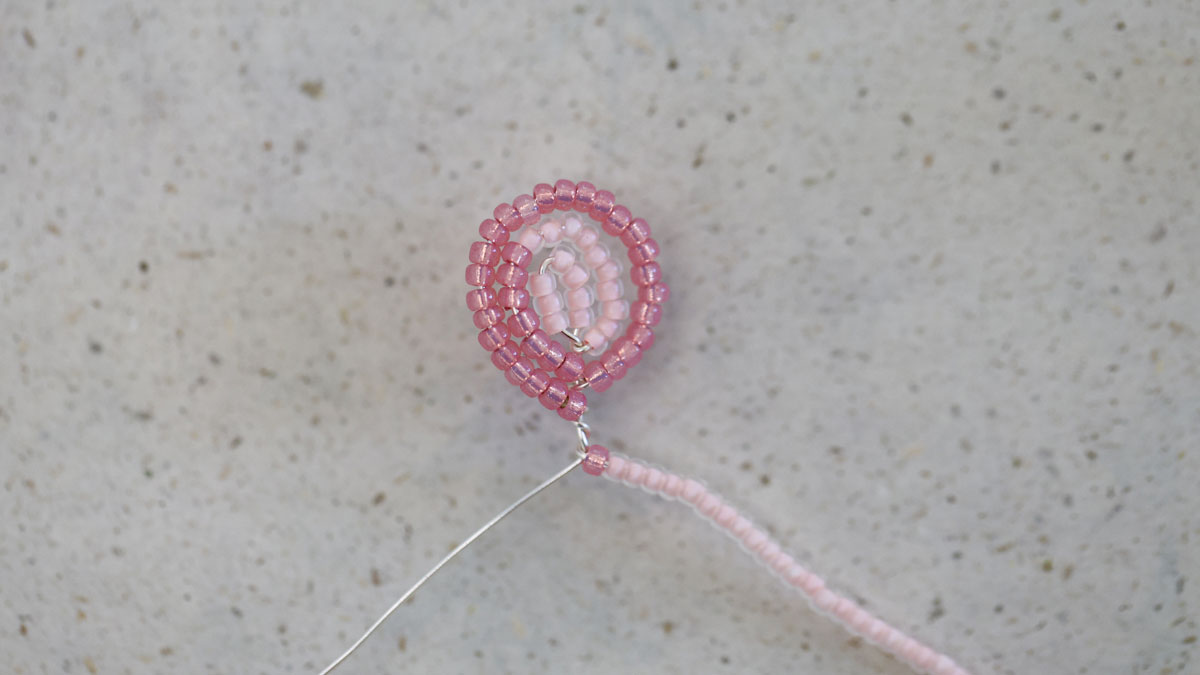
Make a third and final loop around the first two. Twist the strands together two full turns. You have now made a triple loop. 

Step 5
Miyuki Seed Bead Flower - Hydrangea : Step 5

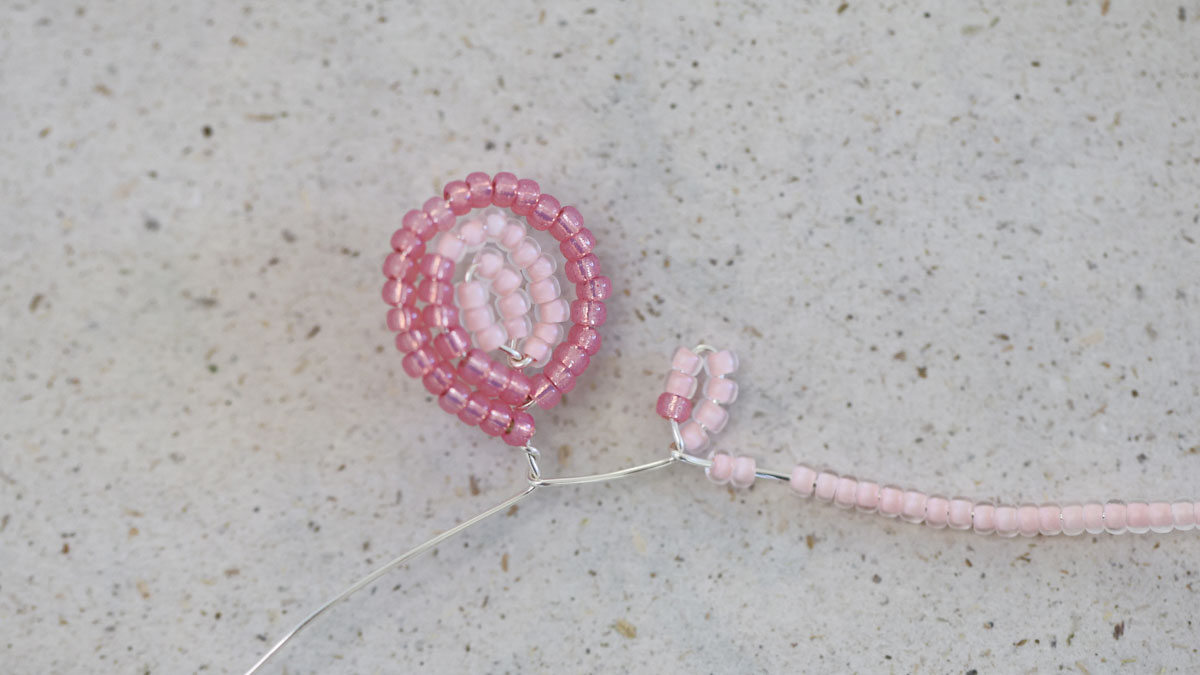
Measure about 1 cm from the first triple loop and make a new triple loop the same way as in steps 2, 3, and 4. 

Step 6
Miyuki Seed Bead Flower - Hydrangea : Step 6

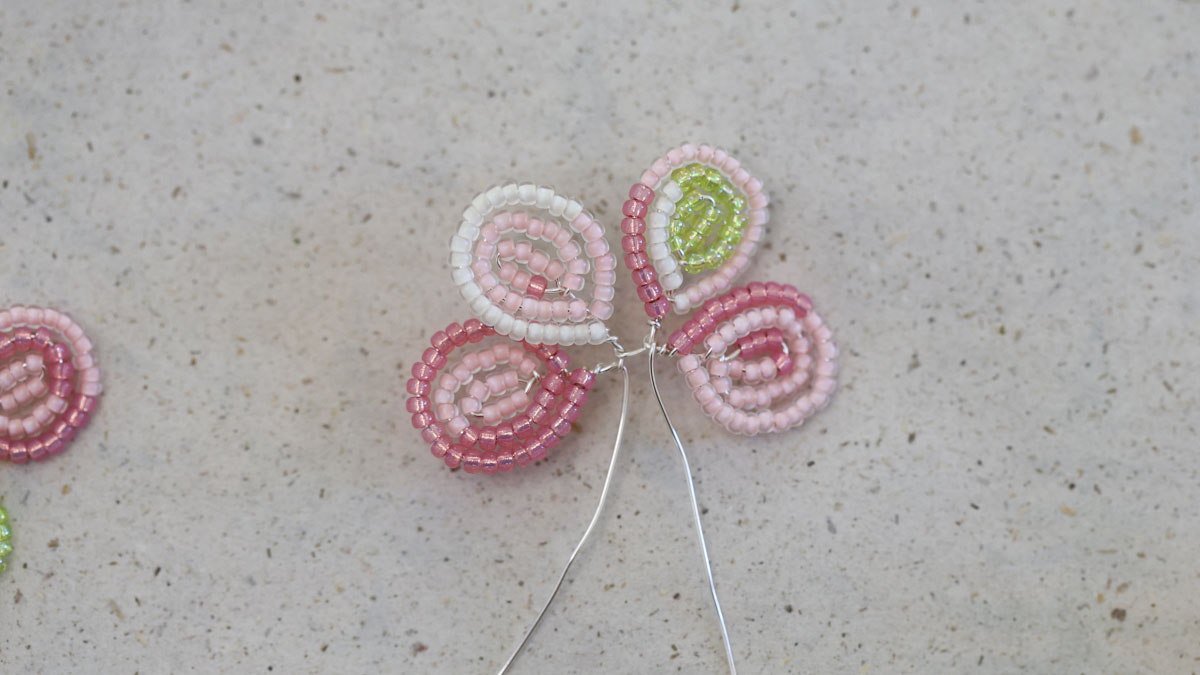
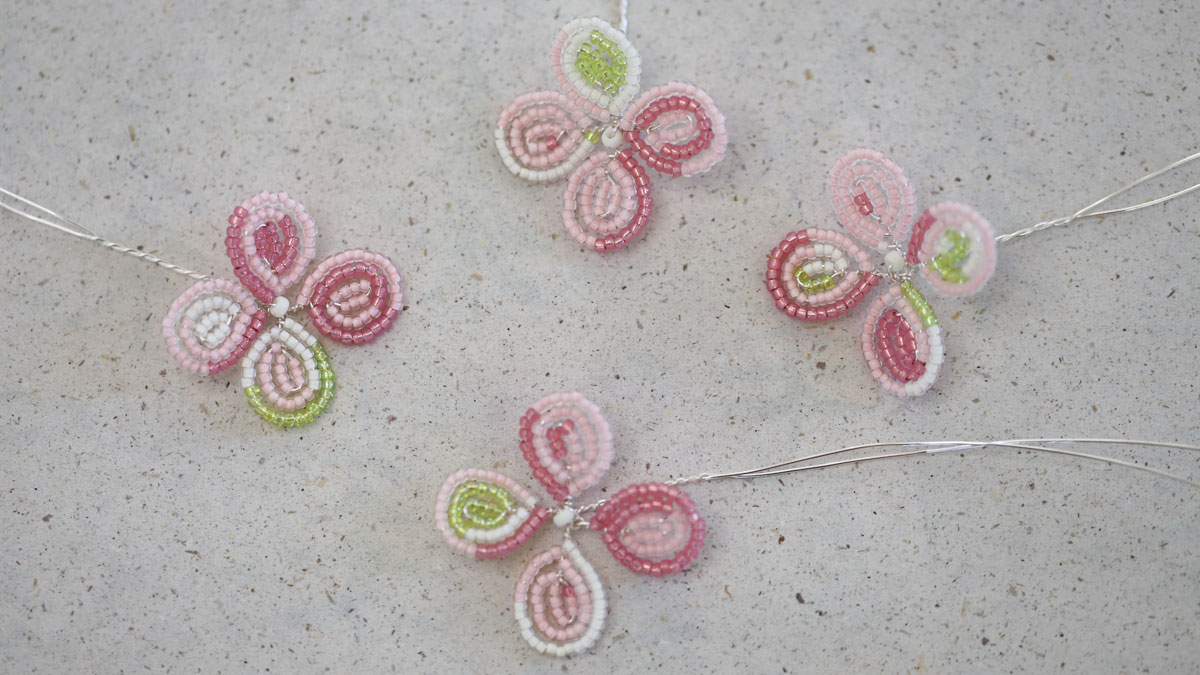
Repeat these steps until you have a total of 4 triple loops. Cut the yarn, leaving an unworked end about 15 cm long. 

Step 7
Miyuki Seed Bead Flower - Hydrangea : Step 7

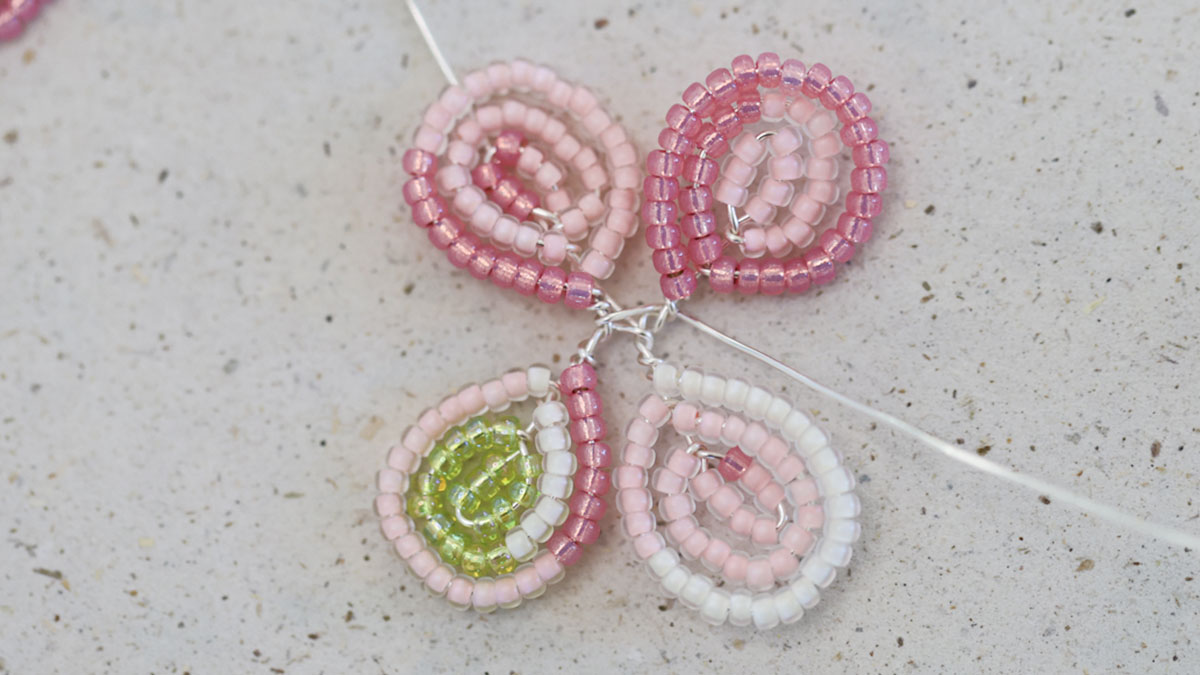
Thread one of the strands between two petals. Gather the four triple loops together to form a flower. 

Step 8
Miyuki Seed Bead Flower - Hydrangea : Step 8

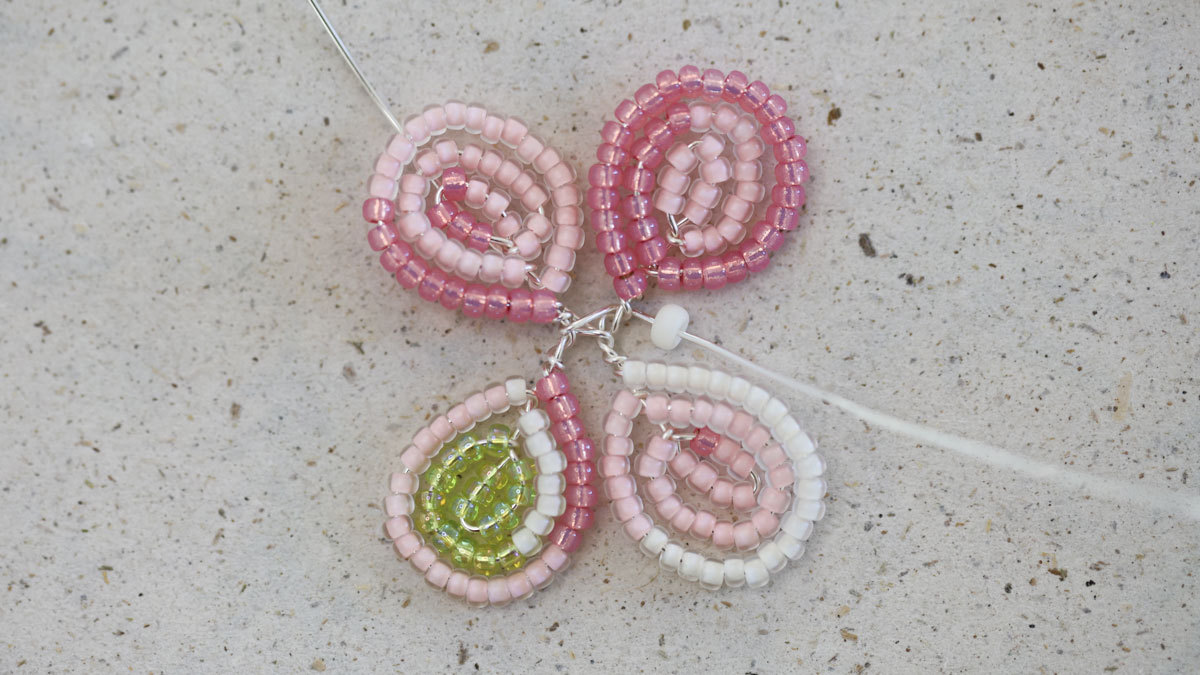
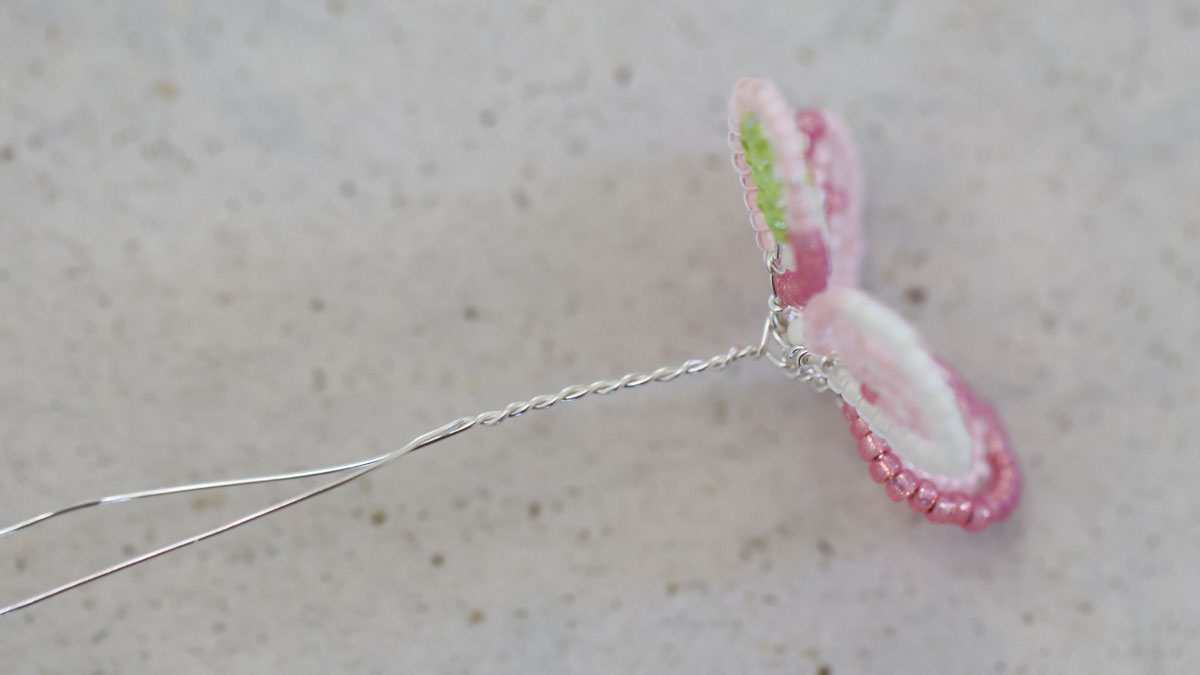
Thread a size 8/0 white bead onto the wire and slide it until it is centered in your flower. 

Step 9
Miyuki Seed Bead Flower - Hydrangea : Step 9

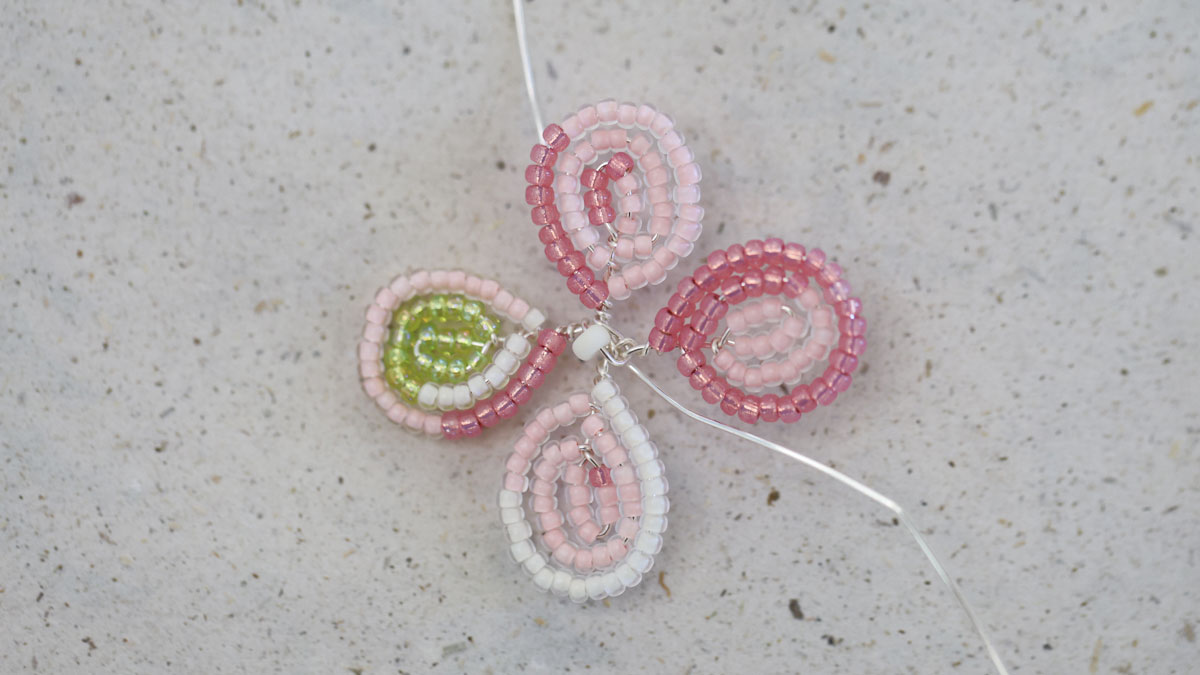
Thread the string down through the side opposite the flower. 

Step 10
Miyuki Seed Bead Flower - Hydrangea : Step 10

Bring the two ends of the thread together under the flower and twist them together for about 2 cm. Your first flower is now finished. 

Step 11
Miyuki Seed Bead Flower - Hydrangea : Step 11

Make the next flower by following the previous steps. Continue stringing beads onto the thread as you go so that you always have enough for the next flower. Repeat the process until you have made a total of 36 flowers. 

Step 12
Miyuki Seed Bead Flower - Hydrangea : Step 12

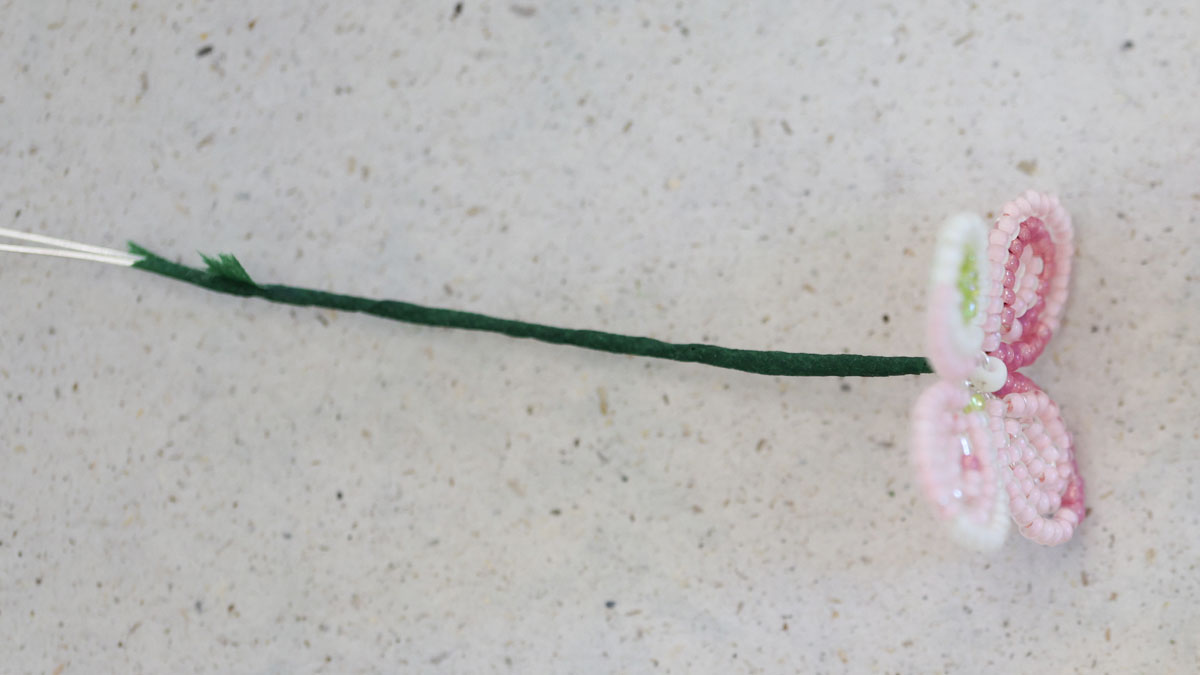
Now let's move on to the steps for preparing your flowers. Take a flower and some florist's tape. Wrap it around the stem, starting at the top, for about 7 cm, then cut the tape. 

Step 13
Miyuki Seed Bead Flower - Hydrangea : Step 13

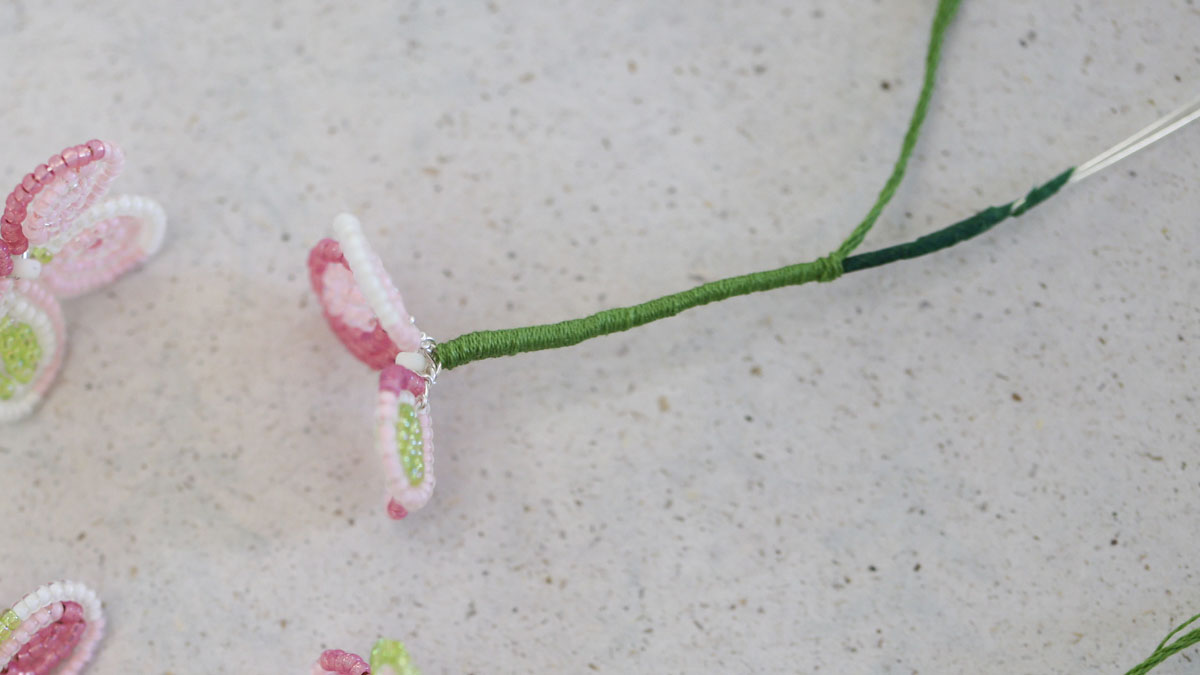
Wrap the embroidery thread around the stem, starting at the top and continuing for 5 cm. Tie a knot, then cut off the excess thread. Tip: Let the embroidery thread unroll as you work. This will ensure it wraps evenly and consistently around the stem. Repeat this process until all 36 flowers are covered. 

Step 14
Miyuki Seed Bead Flower - Hydrangea : Step 14

Take 4 flowers and secure them together with florist's tape. Start where the embroidery thread ends and wrap the ribbon around the stems for about 4 to 5 cm. 

Step 15
Miyuki Seed Bead Flower - Hydrangea : Step 15

Wrap them around the part covered by the floral ribbon using embroidery thread. Tie a knot, then cut off the excess thread. You have now made a cluster of flowers. 

Step 16
Miyuki Seed Bead Flower - Hydrangea : Step 16

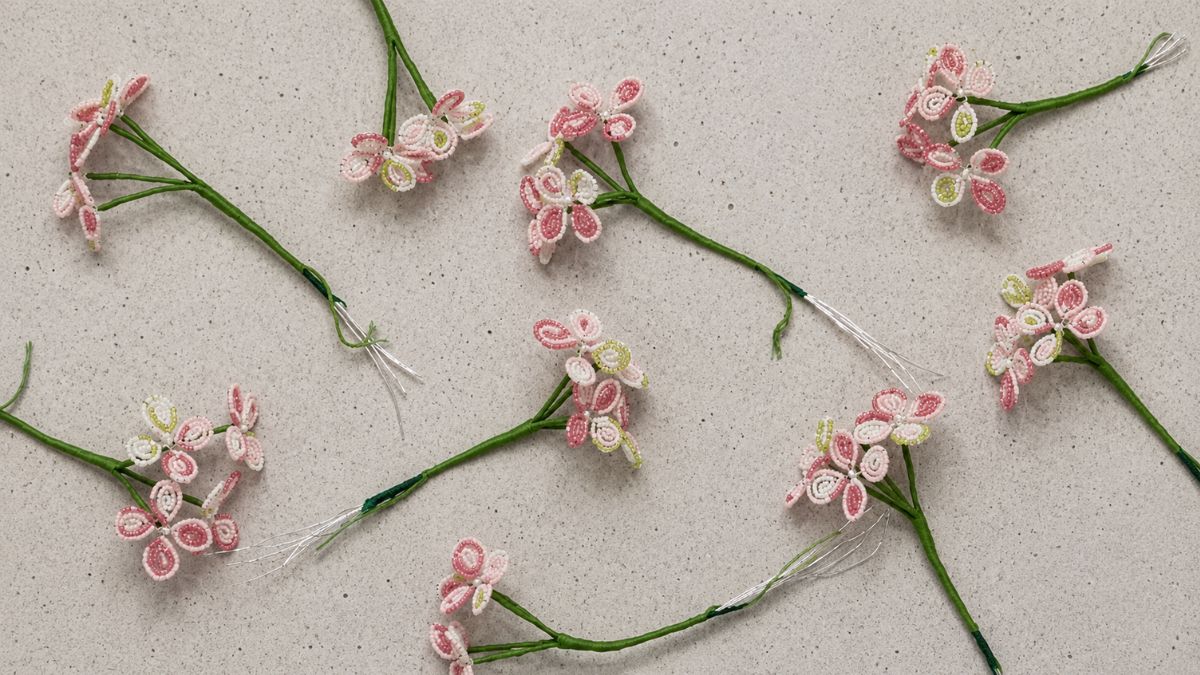
Repeat the process until you have made a total of 9 bouquets. 

Step 17
Miyuki Seed Bead Flower - Hydrangea : Step 17

Secure 3 clusters of flowers to a floral stem using tape. Wrap the tape about 5 cm around the stem. 

Step 18
Miyuki Seed Bead Flower - Hydrangea : Step 18

Wrap about 1 cm of embroidery thread around the top of the stem. Tie a knot, then cut off the excess thread. 

Step 19
Miyuki Seed Bead Flower - Hydrangea : Step 19

Attach the next 3 flower clusters below the embroidery thread. Wrap the tape around the stem for about 3 to 4 cm. 

Step 20
Miyuki Seed Bead Flower - Hydrangea : Step 20

Wrap about 1 cm of embroidery thread around the stem again. Tie a knot, then cut off the excess thread. 

Step 21
Miyuki Seed Bead Flower - Hydrangea : Step 21

Attach the last 3 flower clusters and wrap the tape around the stem for about 5 to 6 cm. 

Step 22
Miyuki Seed Bead Flower - Hydrangea : Step 22

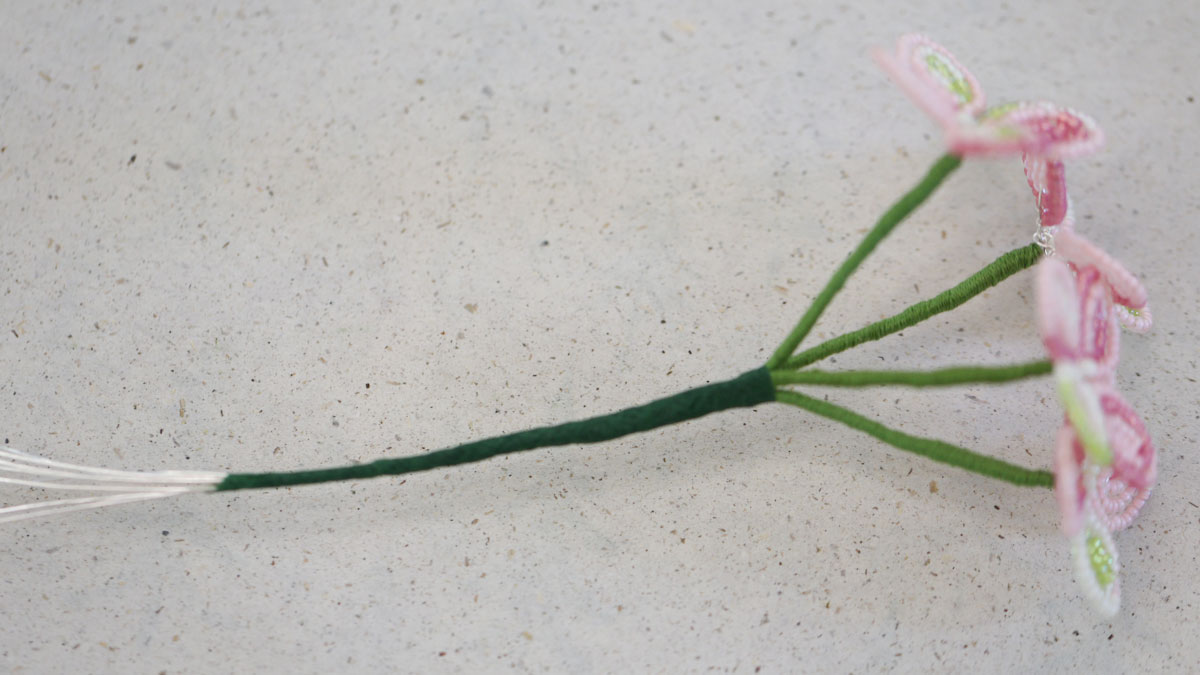
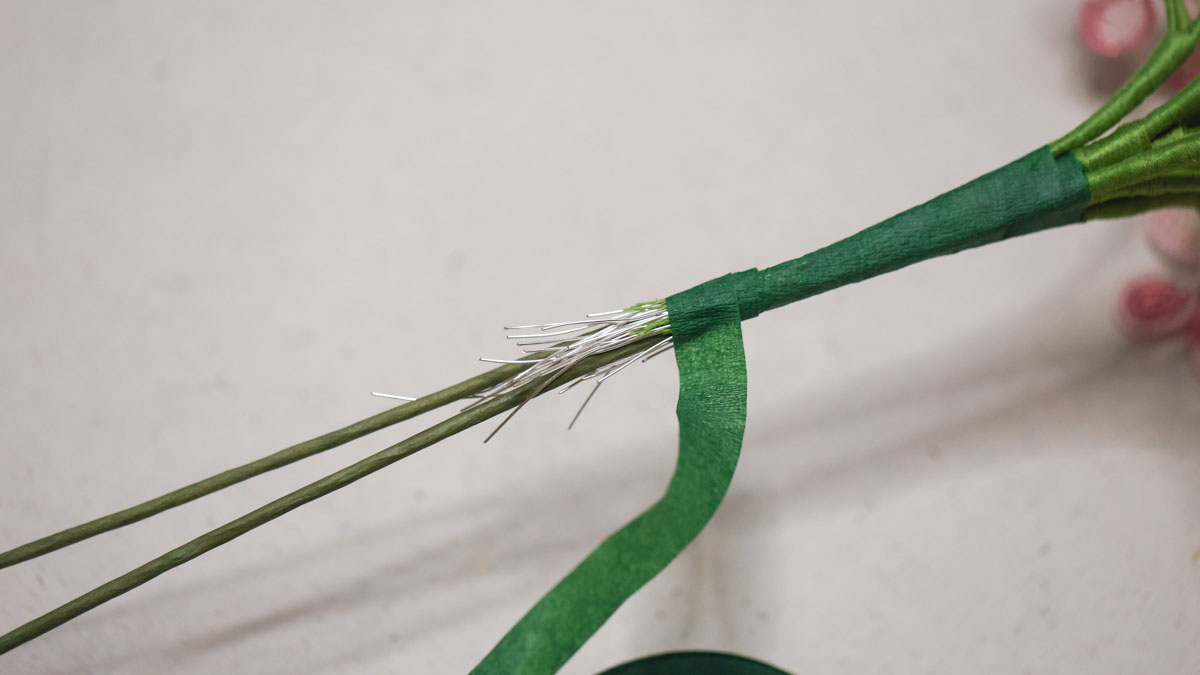
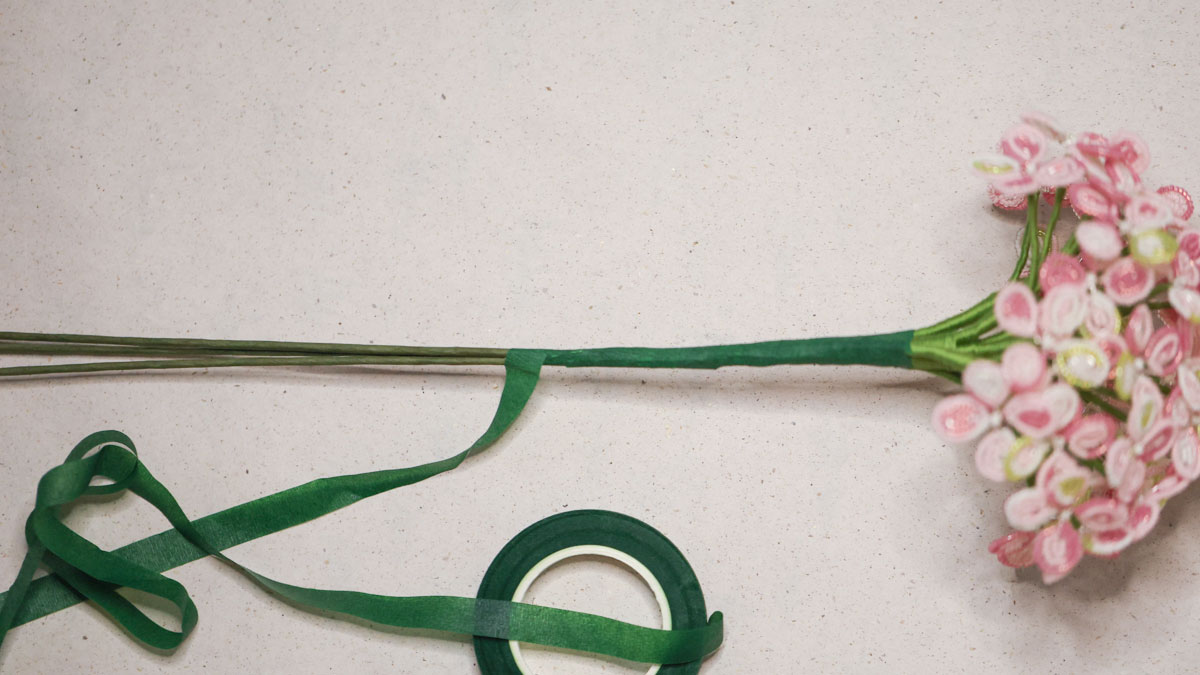
Secure the second rod with tape, then continue wrapping the tape around it for about 3 cm more along the rod. 

Step 23
Miyuki Seed Bead Flower - Hydrangea : Step 23

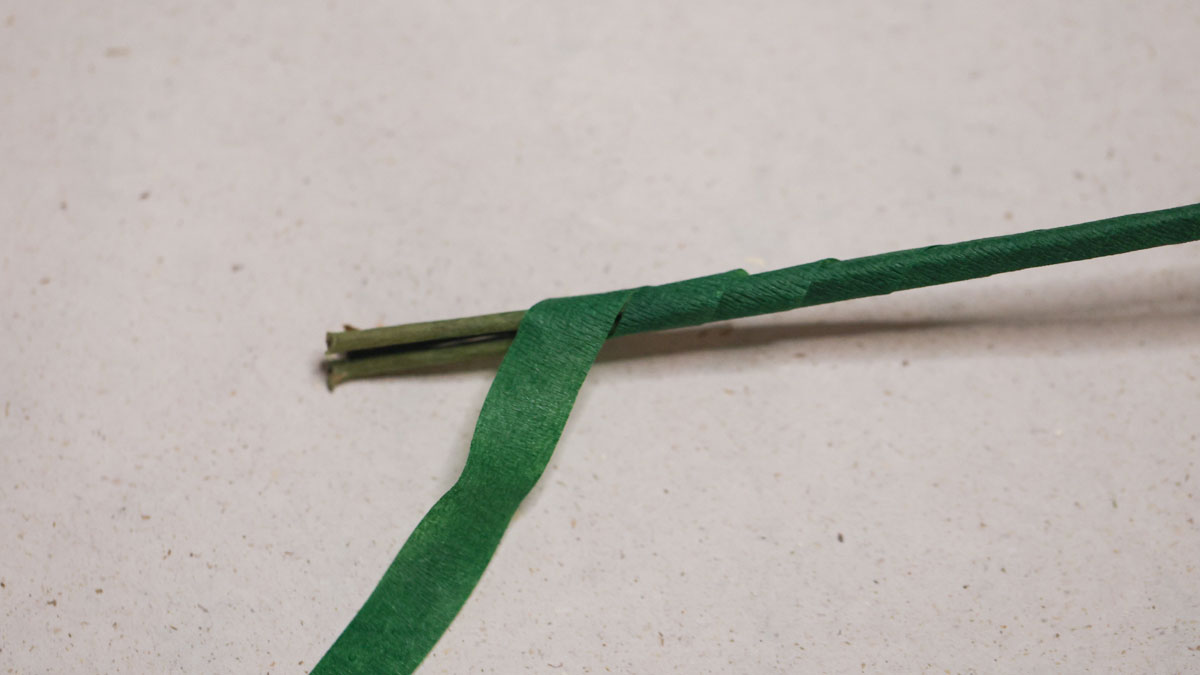
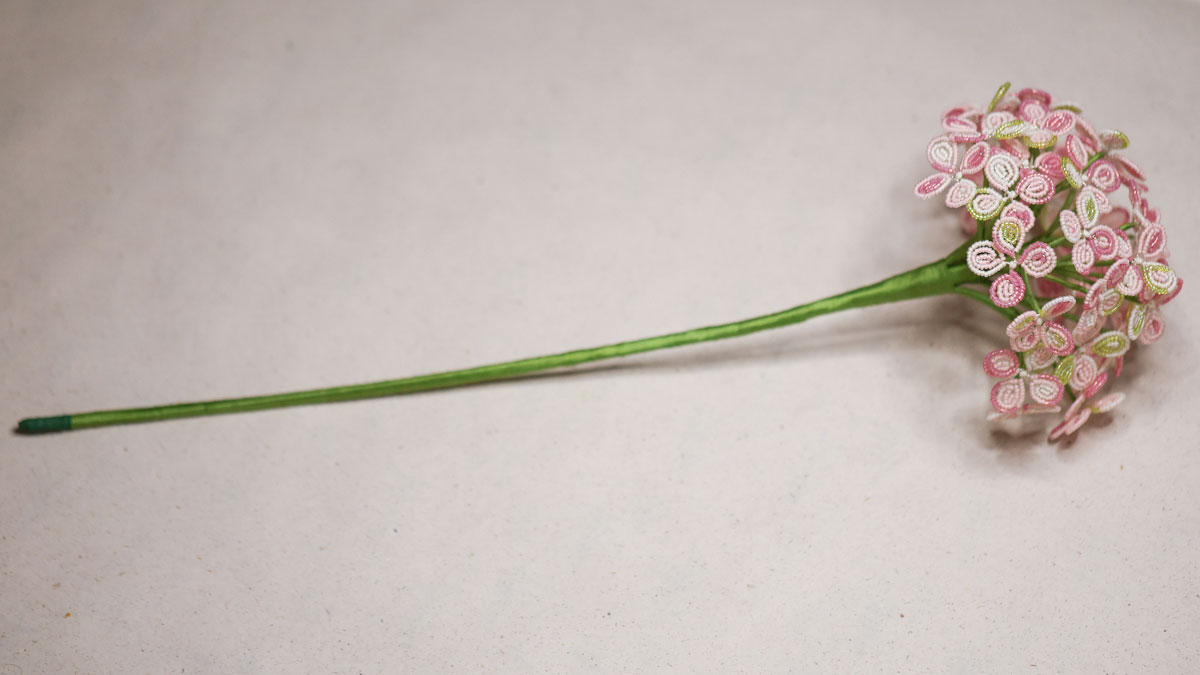
Secure the last flower stem with tape and wrap the ribbon all the way to the end of the first stem. 

Step 24
Miyuki Seed Bead Flower - Hydrangea : Step 24

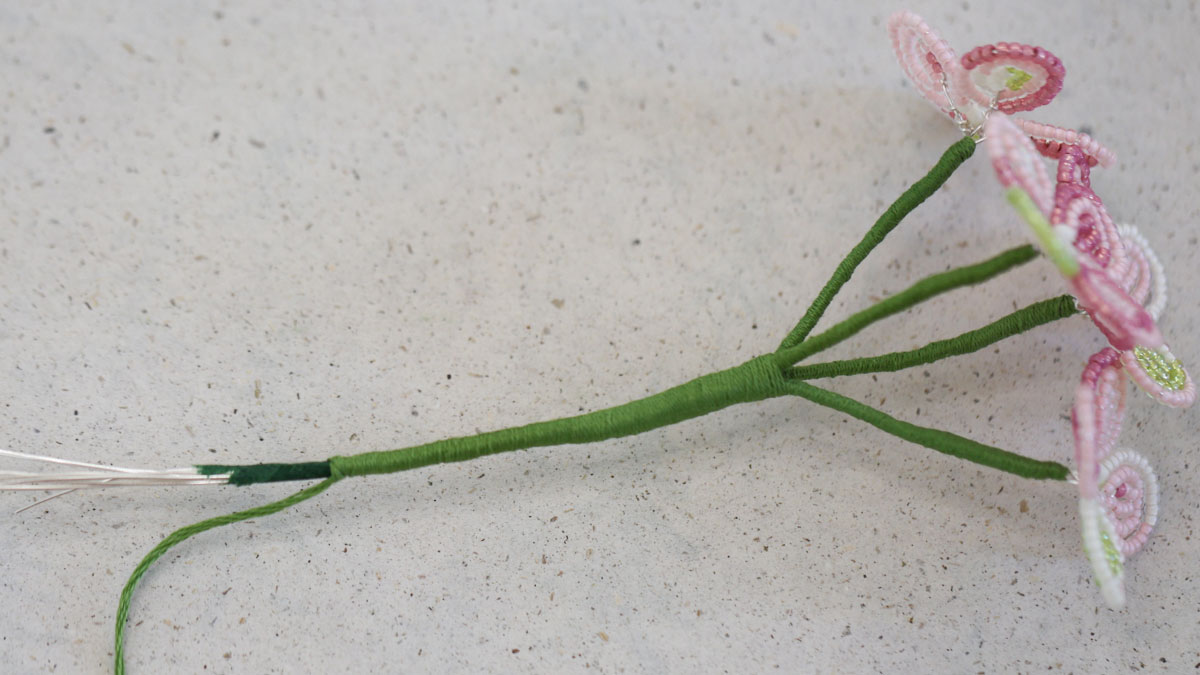
Cut the two additional rods so that they are the same length as the first rod. 

Step 25
Miyuki Seed Bead Flower - Hydrangea : Step 25

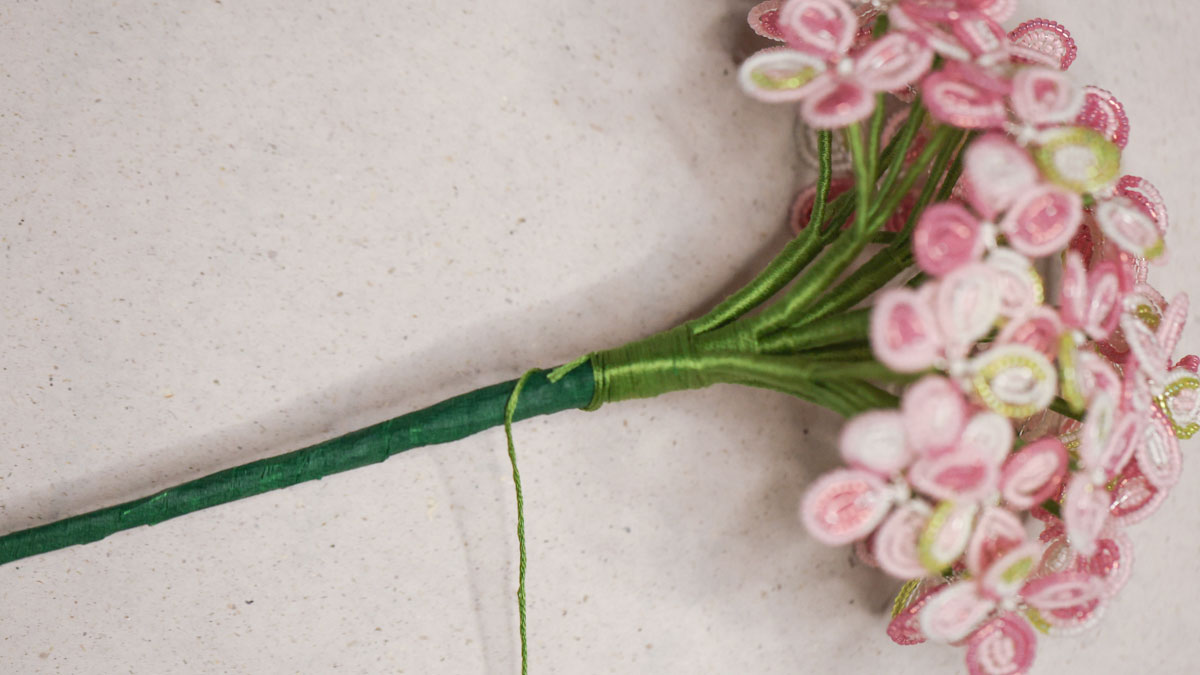
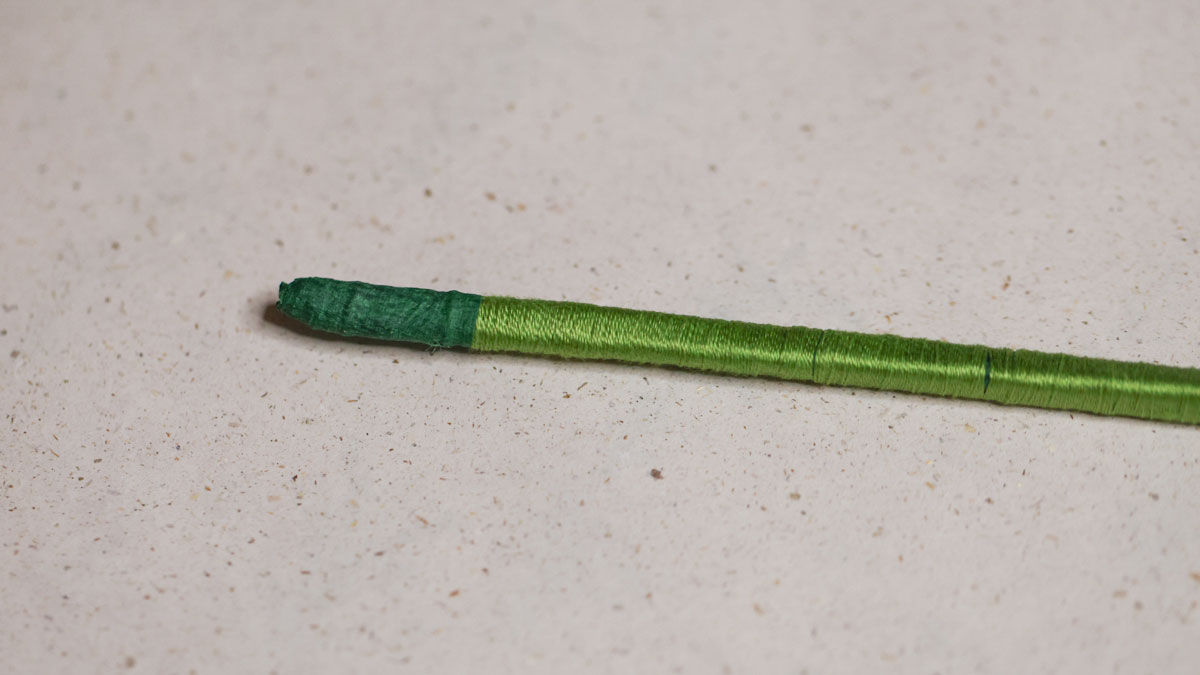
Wrap embroidery thread around the entire stem until about 2 cm of the stem remains uncovered. 

Step 26
Miyuki Seed Bead Flower - Hydrangea : Step 26

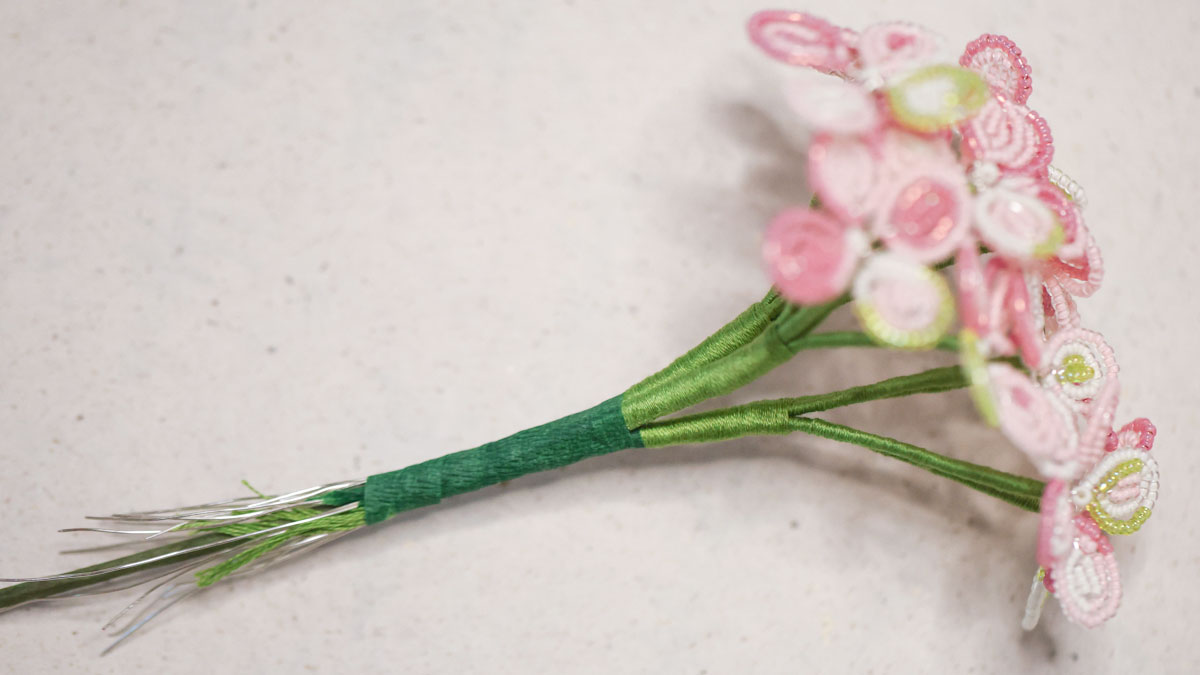
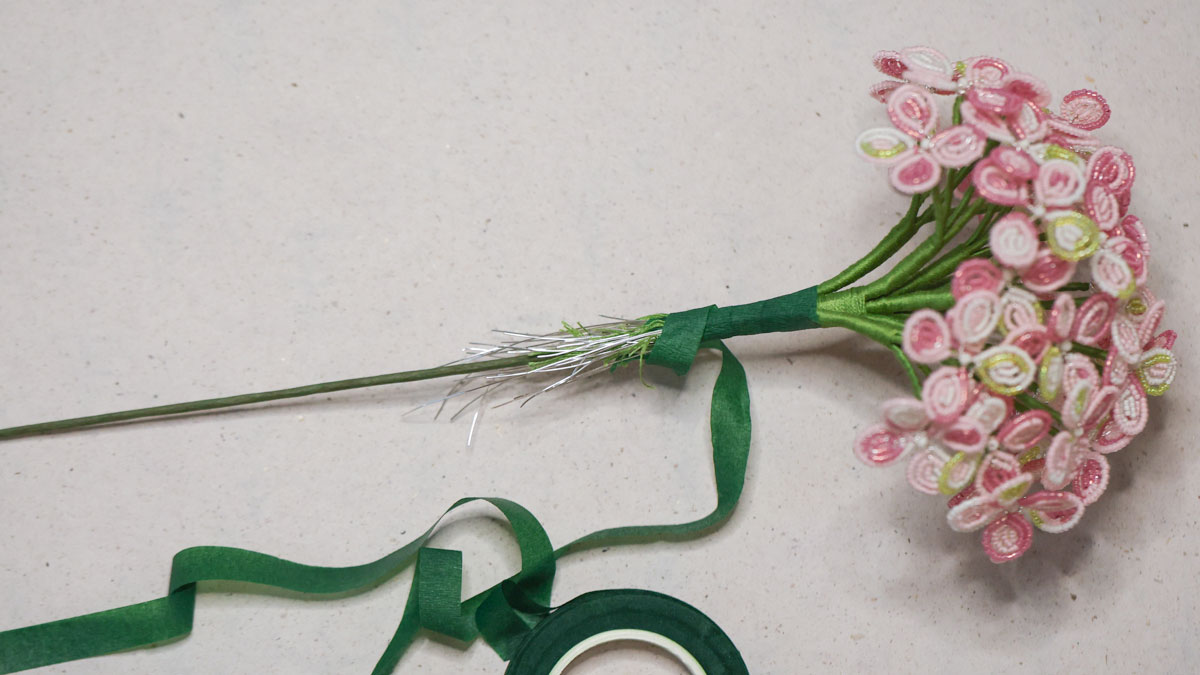
Tie a knot, cut off the excess thread, and cover the end of the stem with a small piece of floral tape. 

Step 27
Miyuki Seed Bead Flower - Hydrangea : Step 27

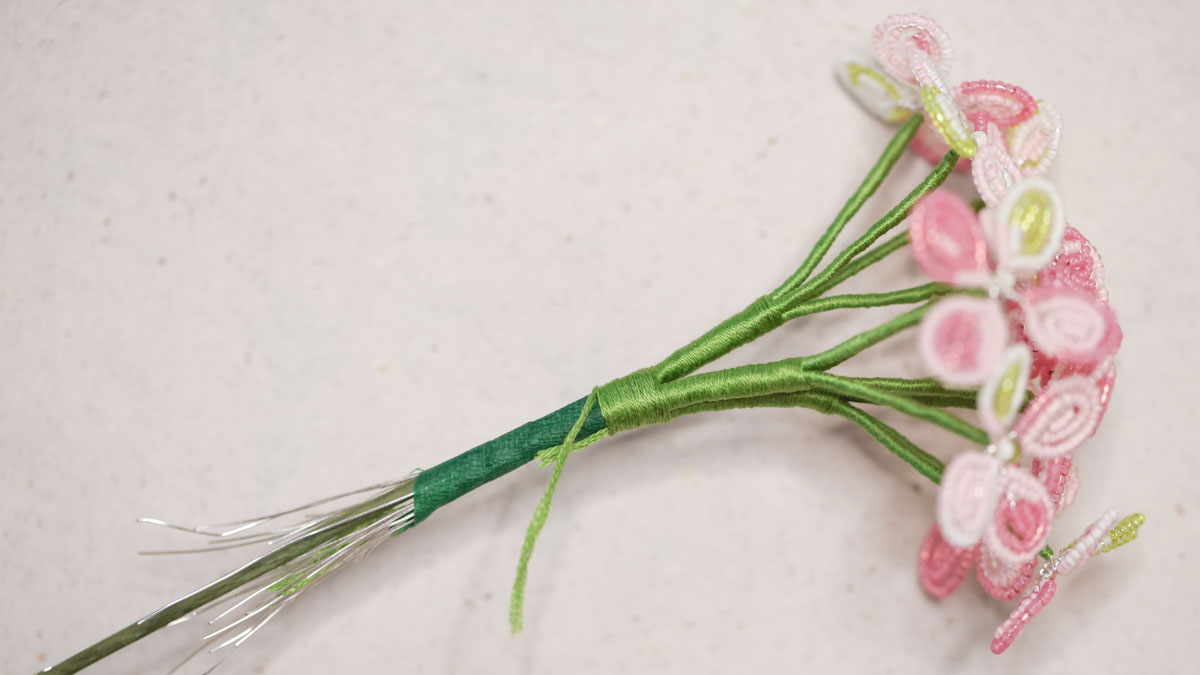
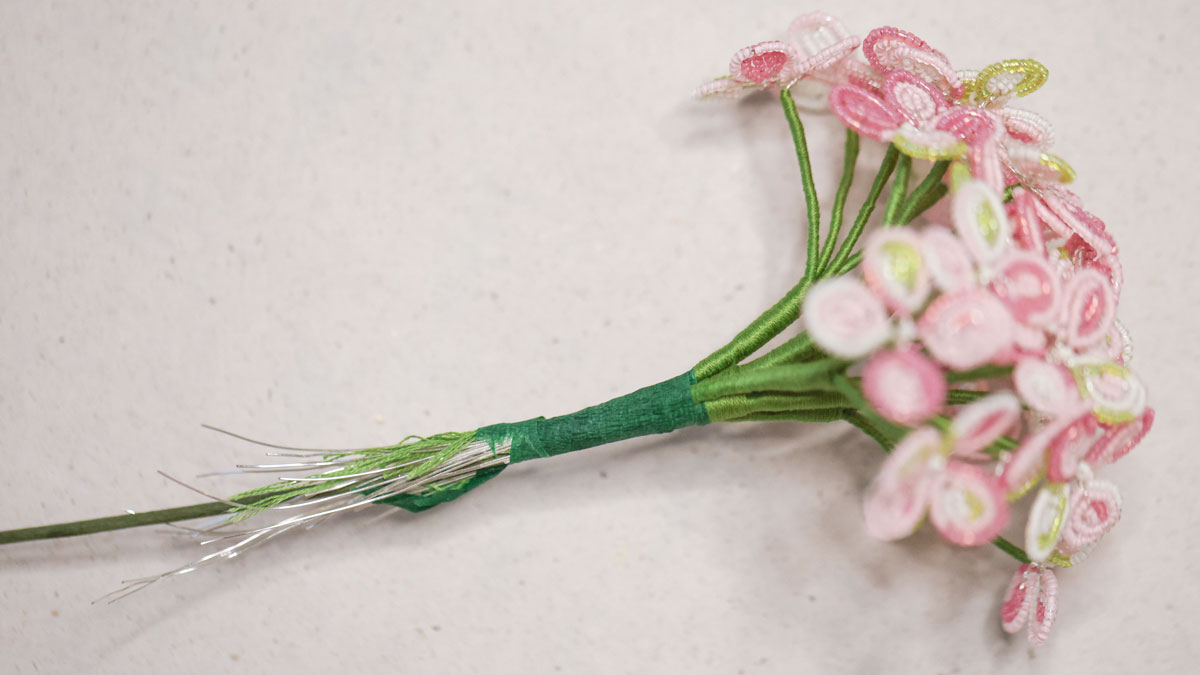
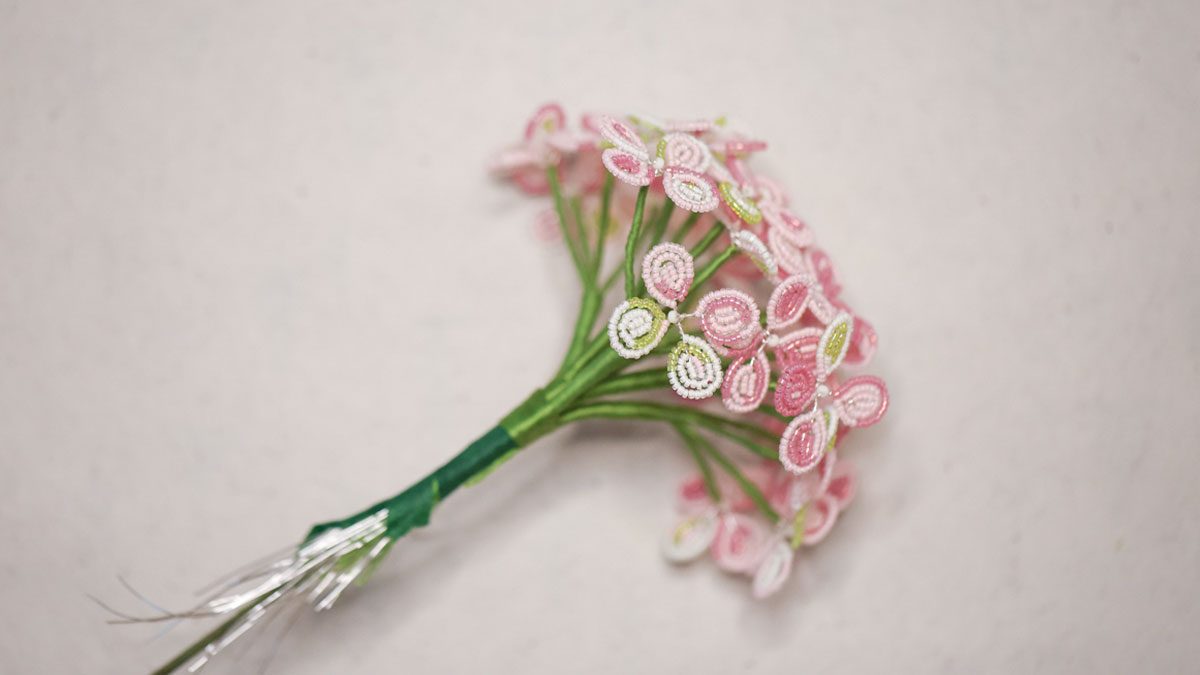
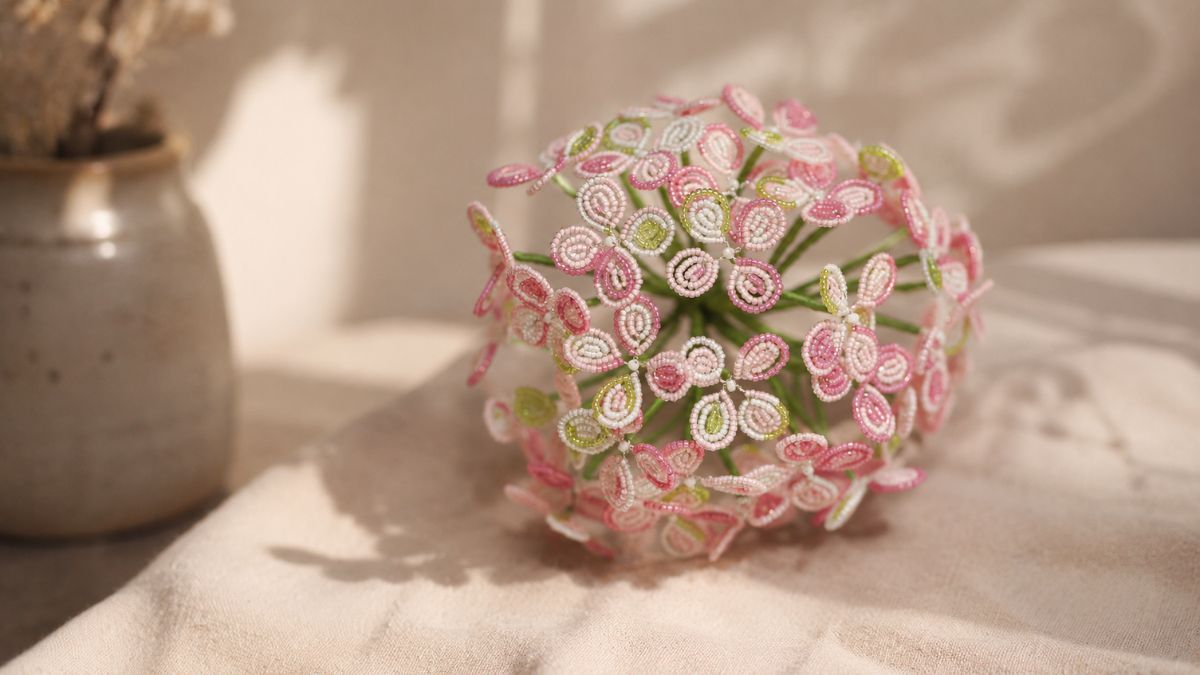
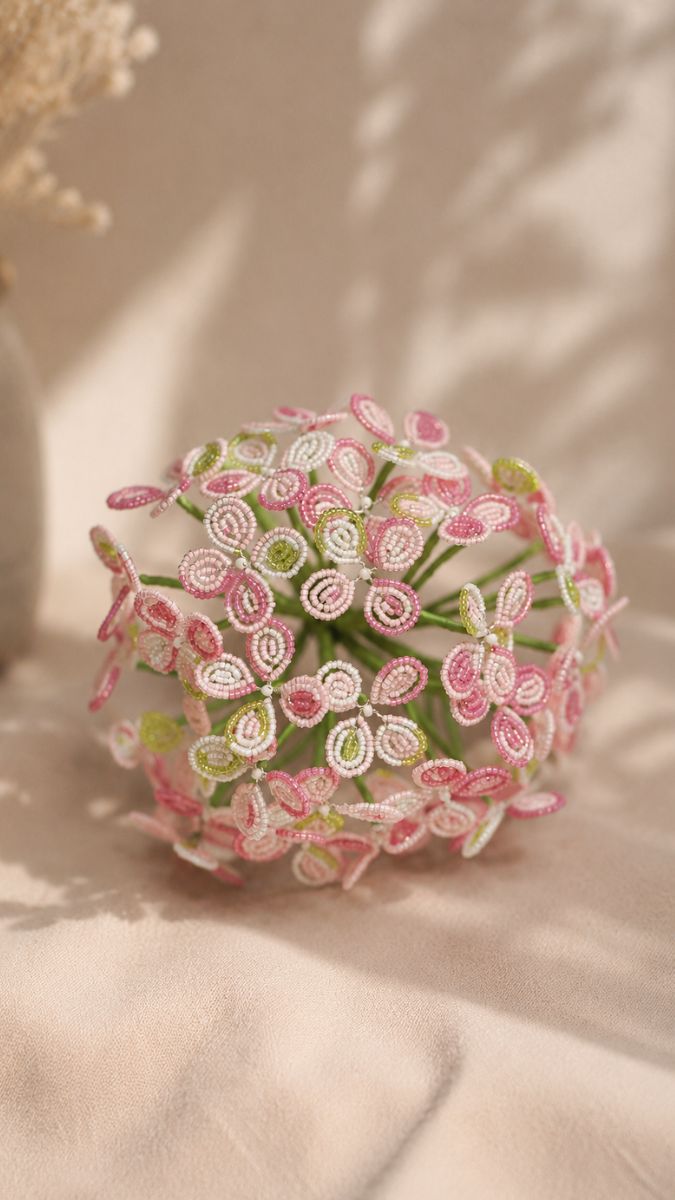
Your hydrangea bouquet is finished! 

Result
Schema  Miyuki Seed Bead Flower - Hydrangea
Associated keywords
Projets
Techniques
Couleurs / Effets
Styles
Niveau de réalisation
Share with my friends
Which material to use ?
Please note that the quantities of the suggested equivalents are not necessarily exact. You can adjust them in your basket.
Supplies
Copper wire 0.50mm Silver tone x 25 m
BRF-114
Qty : 1
17 in stock
4,80€
Miyuki Seed beads 8/0 2021 - Opaque Cream Mat
1,80€
Embroidery Thread DMC Mouliné Special 117 MC Kaki (470) x8m
4,79€
Miyuki Seed beads 11/0 258 - Transparent Chartreuse AB x8g
0,90€
Seed beads Miyuki 11/0 1920 - Semi-Frosted White Lined Crystal x8g
2,40€
Suggested reference for this article:
Set of 10 flower stems 40 cm - Artemio - Green
2,00€
1.2 cm adhesive tape for flowers - Artemio - Green x27m
2,60€
Subtotal : 26,32€
Tools
Maxi 11cm wood bead spinner x1
OUTIL-019
Qty : 4
71 in stock
75,98€
Subtotal : 75,98€
Your questions (3)

You have a question about this tutorial? Ask it to our team and the people who have already tested it. The Perles & Co community is here to help you!

By NADINE (03/08/2026 11:37:58)
bonjour,
je souhaite creer la fleur d'hortensia mais je la déclinerai en bleu au lieu de rose.
Que me conseillez vous dans la même gamme de MIYUKI?
Je vous remercie pour la réponse
nadine
Translate the question
Please log in to use this feature
Our Laurence expert answers you (03/08/2026 14:39:08)
Bonjour, pour décliner l'hortensia en bleu, vous pouvez remplacer les tons rose clair et rose foncé par deux nuances de bleu (par exemple un bleu clair et un bleu plus soutenu) en Miyuki 11/0, tout en conservant le blanc et le vert clair pour le contraste et les feuilles. Chez Miyuki, plusieurs finitions se prêtent très bien à l'hortensia : les coloris opaques, ceylon (nacrés) ou encore duracoat pour une bonne tenue dans le temps. Les références comme le Miyuki 11/0 bleu ciel ceylon DB-1537 et un bleu plus foncé opaque ou satiné comme DB-1569 donnent un rendu très proche des vrais hortensias. Pensez également à garder la perle blanche 8/0 au cœur de chaque fleur pour conserver le même effet lumineux que dans le tutoriel.
Translate the answer
By Isabelle (28/07/2026 17:47:42)
Bonjour, vous êtes sur qu'il ne faut qu'un seul rouleau de 25m de fil de cuivre ?
Parce qu'il faut au moins 30-35cm pour chaque fleur et il en faut 36 =_ pour moi, et si je calcule bien, il en faut 5...
Mais peut-être me trompes-je ?
Translate the question
Please log in to use this feature
Our Charlotte expert answers you (30/07/2026 11:02:43)
Bonjour Isabelle, effectivement, un seul rouleau de fil de cuivre est suffisant. Voici le calcul que nous avons réalisé : Un rouleau de 25 m représente 2 500 cm de fil. Pour réaliser 36 fleurs, cela correspond à environ 69 cm de fil par fleur (2 500 ÷ 36). Comme vous l'indiquez, une fleur nécessite entre 30 et 35 cm de fil. Vous devriez donc disposer d'une marge confortable et il vous restera même du fil à la fin de votre réalisation. Merci. 
Translate the answer
By Nathaly (13/07/2026 11:17:12)
Bonjour une seule boîte de chacune des couleurs suffit Pour faire un hortensia ? Merci bien avous
Translate the question
Please log in to use this feature
Our Margaux expert answers you (13/07/2026 15:07:53)
Bonjour ! Si vous souhaitez refaire 9 groupes de 4 fleurs comme sur le tutoriel, vous devez prendre les quantités indiquées dans la liste du matériel. 
Translate the answer
Your reviews (0)
Notices subject to control
Please log in to use this feature

Credits

Perles & Co, Internet & E-Commerce company [13/07/2026] Any reproduction, representation, adaptation, in any form whatsoever, even partial, is prohibited, except for reproduction for private use not intended for collective use, representation in the family circle (art. L 122-5 CPI) and online publishing on condition that the source is mentioned and a link is included to the corresponding page of our site www.perlesandco.com.